Xeoma: Access Control Systems with Video Surveillance and Video Analytics
The Xeoma video surveillance program offers over 100 different functions, including several dozen types of smart video analytics. However, one of Xeoma’s most fundamental and popular features remains access control. This article will guide you through the basics of access control and the contemporary advanced version of it with video analytics that video surveillance systems like Xeoma can provide.
Access control systems are tools designed to restrict entry or passage to secured areas or premises. While, in the broadest sense, even a simple door lock can be considered an access control system, the term typically refers to a hardware+software complex – with or without human participation – equipped at entry points and checkpoints of various enterprises or territories. The primary goal of such a system is to filter incoming or outgoing people and/or vehicles to prevent unauthorized entry, keep track of visitors, and gather analytical data — for example, to track employees clocking in/out in a fast food restaurant.
Not everyone knows this, but video surveillance is an excellent tool for access control. Computer vision used in surveillance solutions is able to help automate an access control system’s processes, reducing errors caused by human factors, weather conditions, and other challenging circumstances. Moreover, modern video surveillance systems come with professional video analytics, capable of performing additional actions alongside the main process of access control – often without requiring special and often expensive cameras. Thus, a video surveillance system can not only double as an access control tool but also serve for some automation tasks. We will elaborate on this below in the ‘Access control as an automation tool’ section.
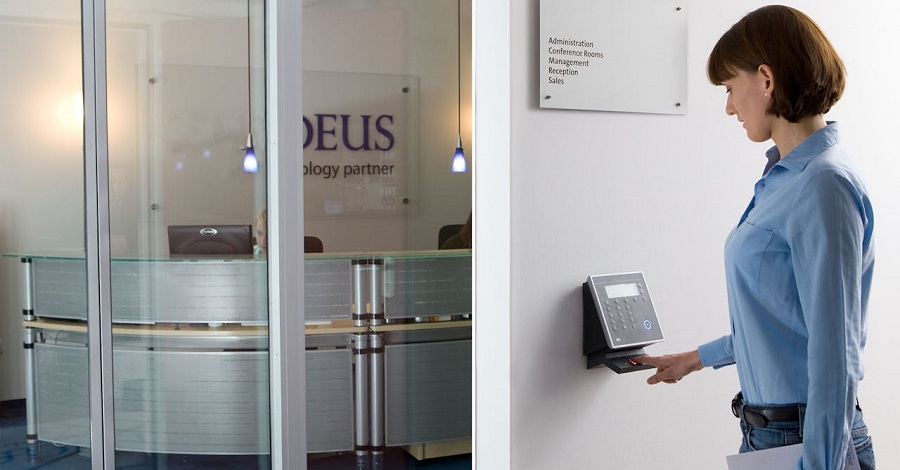
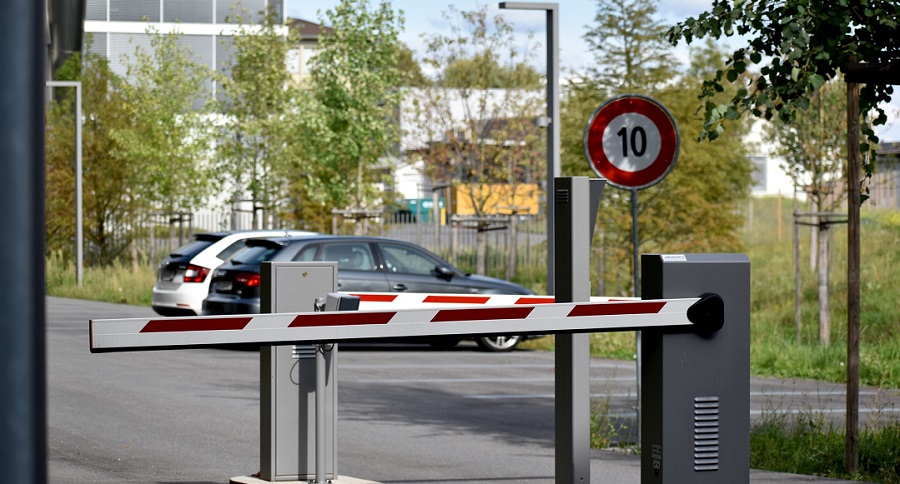
Typical access control systems usually consist of:
– A reading device,
– A controller that manages the barrier device,
– The barrier device itself (e.g., a gate barrier, turnstile, remote-controlled electronic lock, etc.),
– Identifiers (e.g., access cards).
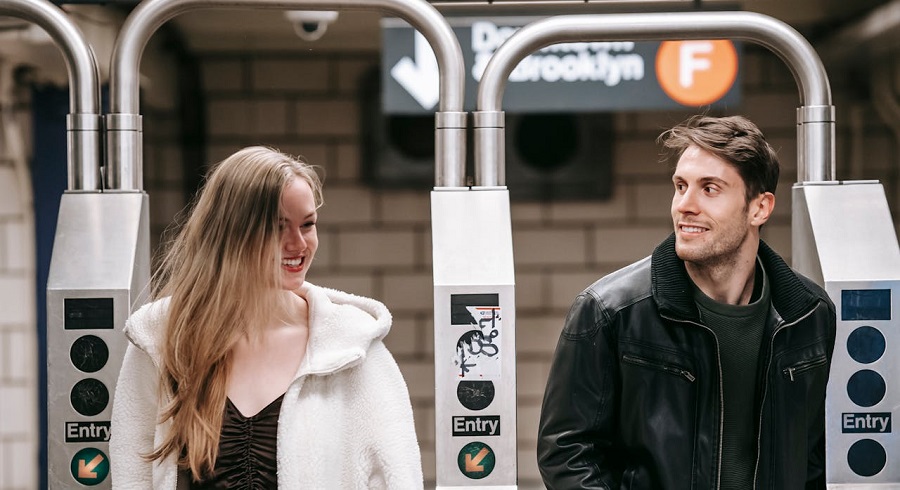
Video surveillance-based access control systems, however, offer the advantage of eliminating some of these components by delegating their tasks to the computer vision capabilities of cameras, without requiring any extraordinary hardware. For example, with Xeoma, your access control system can consist of:
1) A computer, microcomputer, laptop, or even a smartphone powerful enough for your chosen video analytics.
2) A network camera (also with adequate specifications for video analytics). Thus, no special IP camera with rare features and a high cost is required.
3) Xeoma software version containing the video analytics feature you need. Unsure what to choose? Contact us — we’ll help! For example, when Face Recognition is engaged, Xeoma can take on the roles of both the controller — the “brains” of a traditional access control system — and identifiers.
4) A barrier device like a gate barrier, turnstile, electronic lock, motorized gate opener, other types of mechanical doors, etc., that are managed over a network, through an integrated Modbus controller, or via GPIO pins.
Another advantage of video surveillance-based access control systems is that you will likely need to install cameras at the entry and exit points of the secured area anyway, as these are common positions for video security monitoring. So why not repurpose them for access control as well?
After you have acquired all four elements necessary to organize an access control system based on video surveillance, you can follow this guide:
1. Install the network camera: Place a network camera at the checkpoint and set it up according to the instructions. For greater accuracy, its position should comply with the recommendations from the corresponding video analytics module that you are planning to engage in.
2. Launch Xeoma on your computer: Start Xeoma on your computer and let the program find your network camera – or add it manually.
3. Activate the required Xeoma license: Activate the license for the Xeoma edition you need and any Additional module you will be using.
4. Configure video analytics: Set up the type of video analytics you want your access control to be based on. See examples here.
5. Set the reactions: Configure which reaction should the video surveillance have to an ‘event’. For example, set it to send a signal to the barrier device when an employee is detected or trigger a notification to management at the sight of a supplier. See examples here.
Thus, with a regular network camera and a simple computer – and sometimes even a microcomputer or an Android tablet – you can use Xeoma’s smart video analytics for access control and interaction with barrier devices or automation systems. This video analytics can either fully rely on computer vision replacing physical devices like a reader and identifier, or work in combination with them. More details on these options will be provided in the following section.
As mentioned in step 4 of the section “How to Organize an Access Control System with Video Surveillance,” the Xeoma video surveillance program can use video analytics to distinguish between authorized and unauthorized individuals by analyzing the video stream for specific patterns. Depending on your needs, Xeoma offers several options:
![]() Human access control: Face Recognition. Xeoma has a Face Recognition feature that identifies individuals by their faces. With simple steps, you train the system to identify people it needs to recognize so that it can recognize such individuals when they appear in the frame – and trigger corresponding pre-set reactions. This biometric method is successfully used for access control at pedestrian checkpoints, such as the entrance to a fitness club, staff areas of a restaurant, factory gates, and even private home surveillance systems.
Human access control: Face Recognition. Xeoma has a Face Recognition feature that identifies individuals by their faces. With simple steps, you train the system to identify people it needs to recognize so that it can recognize such individuals when they appear in the frame – and trigger corresponding pre-set reactions. This biometric method is successfully used for access control at pedestrian checkpoints, such as the entrance to a fitness club, staff areas of a restaurant, factory gates, and even private home surveillance systems.
The advantage of an access control system using face recognition is that it replaces the combination of identifier and reader, usually represented by physical devices, in regular access control systems. Here, an authorized person only needs to show their face , which will act as a virtual identifier. The Xeoma video surveillance software will then take on the role of a reader: it compares the face in the frame with the face in the database created during the Xeoma setup process through training and, if a match is found, sends a signal to the barrier device controller. Additionally, the Face Recognition module can react not only to people from a pass list but also to people from a block list, or any people in the frame, or only to unrecognized people.
For more details on how to set up the Face Recognition module and create a whitelist/blacklist database, read the article on the Face Recognition module.

|
For two-factor identification, you can use a combination of facial recognition and access card confirmation thanks to another Xeoma module called FaceID. More on this below. |
![]() Vehicle checkpoints: License Plate Recognition. Similar to facial recognition, the License Plate Recognition module identifies approaching or departing vehicles by their license plates, which serve as identifiers. In this scheme, Xeoma again replaces a reader physical device: the program compares the license plate in the frame with a pre-created database of approved or banned license plates and, if a match is found, sends a signal to the barrier device controller. And just like Face Recognition, the License Plate Recognition module in Xeoma can also react only to unrecognized plates or any license plate seen in the frame.
Vehicle checkpoints: License Plate Recognition. Similar to facial recognition, the License Plate Recognition module identifies approaching or departing vehicles by their license plates, which serve as identifiers. In this scheme, Xeoma again replaces a reader physical device: the program compares the license plate in the frame with a pre-created database of approved or banned license plates and, if a match is found, sends a signal to the barrier device controller. And just like Face Recognition, the License Plate Recognition module in Xeoma can also react only to unrecognized plates or any license plate seen in the frame.
For more details on how to set up the License Plate Recognition module and create a whitelist/blacklist database, read the article on ANPR.
In addition to these two most common types of video analytics that video surveillance can offer to automated access control systems, Xeoma also has other video analytics capabilities as well as special options for working with external sensors from third-party hardware access control systems. More details on these are provided below in the ‘Using hardware systems of third-party manufacturers for identification’ section.
To skip this section and go straight to reactions, click here.
Xeoma supports working with several external access control systems and perimeter security systems, two of which are described below.
![]() Xeoma’s RIF+ Detector module is designed to integrate the video surveillance system with the “RIF Plus” perimeter security system produced by the “START-7” company. This integration is based on receiving signals from sensors located around the perimeter of the secured area and triggering various reactions upon receiving an “Alarm” state from them. The system also includes remotely controlled locking devices, barriers, and even reinforced barbed wire. Xeoma can exclusively rely on perimeter security triggers to initiate reactions, such as controlling locking devices or barriers, or it can combine external information from “RIF+” with its own video analytics — for example, if double verification of an alarm event is needed or if the “RIF+” sensors do not fully meet your requirements.
Xeoma’s RIF+ Detector module is designed to integrate the video surveillance system with the “RIF Plus” perimeter security system produced by the “START-7” company. This integration is based on receiving signals from sensors located around the perimeter of the secured area and triggering various reactions upon receiving an “Alarm” state from them. The system also includes remotely controlled locking devices, barriers, and even reinforced barbed wire. Xeoma can exclusively rely on perimeter security triggers to initiate reactions, such as controlling locking devices or barriers, or it can combine external information from “RIF+” with its own video analytics — for example, if double verification of an alarm event is needed or if the “RIF+” sensors do not fully meet your requirements.
![]() The Senstar PTZ Tracking Module is an integration module that receives data from Senstar sensors (such as FlexZone, OmniTrax, UltraWave, etc.) and automatically rotates the camera for a closer look at the area where the sensor has noticed an alarming event. Thanks to Xeoma’s flexibility, it is also possible to use its destination modules to configure the initiation of various reactions as required. To use this system, users will need to have Senstar sensors, a PTZ camera with ONVIF protocol support, a computer, or microcomputer to run Xeoma, and a locking or barrier device of their choice.
The Senstar PTZ Tracking Module is an integration module that receives data from Senstar sensors (such as FlexZone, OmniTrax, UltraWave, etc.) and automatically rotates the camera for a closer look at the area where the sensor has noticed an alarming event. Thanks to Xeoma’s flexibility, it is also possible to use its destination modules to configure the initiation of various reactions as required. To use this system, users will need to have Senstar sensors, a PTZ camera with ONVIF protocol support, a computer, or microcomputer to run Xeoma, and a locking or barrier device of their choice.
If you require support for other devices or systems, we offer a paid development program where we can implement the necessary features in Xeoma upon request.
Naturally, the most logical reaction to a successful identification of an object in the frame is to allow entry/exit. This can be done from our video surveillance program in various ways depending on the communication method the barrier equipment in place supports.
![]() Using the HTTP Request Sender module, Xeoma can send an http command to a barrier that supports management over the network. This is one of the most popular ways to communicate with barrier devices.
Using the HTTP Request Sender module, Xeoma can send an http command to a barrier that supports management over the network. This is one of the most popular ways to communicate with barrier devices.
![]() If the barrier device is controlled by a Modbus-type controller, Xeoma has a special module for working with them, called “Modbus Controllers”. This module can send and receive commands from Modbus controllers, which are often used in barriers as well as in traffic lights and smart home systems. Thus, it can send a command to lift the barrier, unlock the turnstile, or open a lock or automatic gate.
If the barrier device is controlled by a Modbus-type controller, Xeoma has a special module for working with them, called “Modbus Controllers”. This module can send and receive commands from Modbus controllers, which are often used in barriers as well as in traffic lights and smart home systems. Thus, it can send a command to lift the barrier, unlock the turnstile, or open a lock or automatic gate.
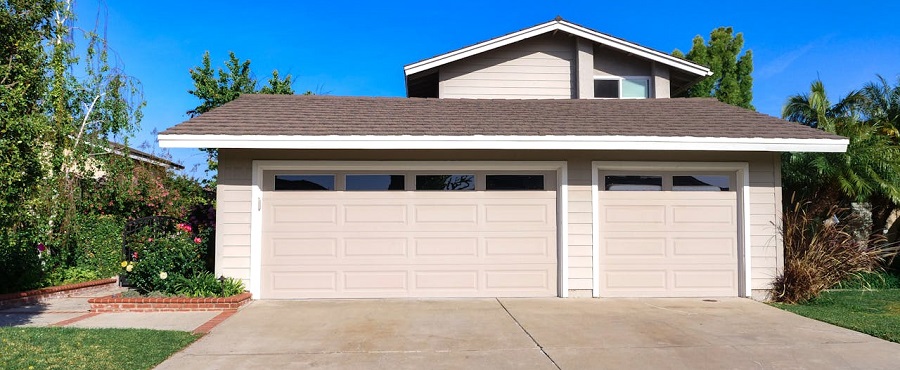
![]() Video surveillance systems operating on Linux ARM-based microcomputers can also react to a successful identification event by sending a command to a GPIO pin using Xeoma’s GPIO module. This ‘dry contact’ method can also be used to send a signal to the barrier device (or automation tool — for example, to open a garage door).
Video surveillance systems operating on Linux ARM-based microcomputers can also react to a successful identification event by sending a command to a GPIO pin using Xeoma’s GPIO module. This ‘dry contact’ method can also be used to send a signal to the barrier device (or automation tool — for example, to open a garage door).
Important note: although such compact solutions are usually too weak for performing professional smart video analytics, Xeoma uses many optimizations that allow it to work! For example, Xeoma’s license plate recognition has been successfully used with 1-2 cameras on an ARM-based single-board device in one of our ‘safe city/road surveillance’ projects in a CIS country.
![]() If this is not the option you are looking for, the Xeoma video surveillance program has the ability to run your own script using the “Application Runner” module. Such a script can provide the needed overlay to communicate with the infrastructure you have or its API – whatever medium you will use to send the signal to the barrier device.
If this is not the option you are looking for, the Xeoma video surveillance program has the ability to run your own script using the “Application Runner” module. Such a script can provide the needed overlay to communicate with the infrastructure you have or its API – whatever medium you will use to send the signal to the barrier device.
At the time of this article being written, Xeoma offers 18 various unique destination modules and many other built-in features (such as, e.g., an API), so there’s a tailored reaction for almost any system! And if a special reaction is needed, you can always order the development of custom features through our paid development program!
![]() Previously, we mentioned that there is a special method that provides reinforced, two-factor identification with the help of the FaceID module available in Xeoma. This method is worth observing separately because, unlike ‘Face Recognition’, ‘FaceID’ utilizes a combination of virtual identification and confirmation via a physical identifier. What it does is it compares the face in the frame not with its virtual database – instead, it requires additional identity confirmation with a physical identifier as in traditional access control systems, the latter being one of the following:
Previously, we mentioned that there is a special method that provides reinforced, two-factor identification with the help of the FaceID module available in Xeoma. This method is worth observing separately because, unlike ‘Face Recognition’, ‘FaceID’ utilizes a combination of virtual identification and confirmation via a physical identifier. What it does is it compares the face in the frame not with its virtual database – instead, it requires additional identity confirmation with a physical identifier as in traditional access control systems, the latter being one of the following:
1. An Omnikey access card paired with a reader of this brand.
or
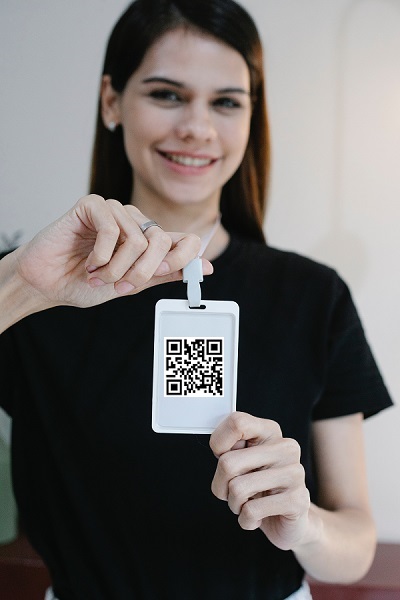
2. A QR code printed on a badge or clothing (such as a uniform or helmet).
In the first case, using the software provided with the reader and ‘blank’ cards, you encode the card with the holder’s profile information, including their photo (which can be stored in local storage or taken from your company’s LDAP server). The person approaching the checkpoint puts the Omnikey access card (their identifier) to the reader while the surveillance camera captures their face. Then the reader decodes the data from the access card chip and sends the cardholder’s photo to Xeoma, which then compares it with the face in the frame – all done in a matter of a split second. If a match is found, a permission signal is sent to the reaction module ((more on reactions here).)
In the second case, QR codes can be used instead of access cards, with the user’s profile information and photo encrypted within the code. This QR code can be printed on a pass, badge, or directly on clothing – which would be especially useful for contactless access in situations where hands are often occupied, as in construction or prisoner escort scenarios. The process works as follows: a unique QR code containing the holder’s information and photo is created outside Xeoma and given to the worker or authorized person in a printed form. When this person is within the camera’s range, Xeoma and its FaceID module locate the person in the frame and detect their face while waiting for information from the “QR Code Recognition” module to compare the face to. Simultaneously, the “QR Code Recognition” module, which can use the same or another camera’s video feed, scans the scenery for a QR code in the frame, and, when found, decodes it, retrieves the user’s photo, and sends it for comparison to FaceID. Again, these proceedings are done on the fly, taking only fractions of a second. If FaceID then finds a match, a permission signal is sent to the reaction module (more on reactions here).
Such a system is suitable for access control in various sectors: correctional facilities, banking or medical storage, etc. – anywhere where strict access control and multiple verifications are required to prevent unauthorized access lest an employee’s identifier fall into the wrong hands. Or, the combination of Xeoma FaceID with Omnikey access cards can be a part of fully automated access control systems for university campuses – like it has been the case in our project in Vietnam.
Throughout this article, we have repeatedly mentioned that access control systems utilizing video surveillance can be used not only to determine whether a person or vehicle in the camera’s view is allowed to enter a secured area but also for additional functions such as collecting statistics and other information. For instance, in our article “Automatic working time tracking in Xeoma”, we describe schemes for tracking working hours (arrivals and departures) at an enterprise based on the previously mentioned facial recognition for people and license plate recognition for vehicles. Thus, alongside the automatic opening of the passage, the system can record the time of the event, and this data can be used to calculate the duration of the object’s presence on the premises.
An access control system based on Xeoma in construction or logistics can be used for automation of delivery routing, directing a vehicle to the appropriate unloading sector without human supervision. The Xeoma’s “License Plate Recognition” module can recognize the license plates of approaching vehicles including trucks, compare them with lists of vehicles you expect to appear, and automatically trigger a pre-set reaction — such as opening a barrier or displaying the unloading sector on a screen.
Often, telling strangers from known people/vehicles is used to trigger other automatic reactions, which can be related or unrelated to barrier devices. For example, it is possible to integrate video surveillance-powered access control systems with smart home devices: to automatically open the garage door upon recognizing the homeowner’s car in the driveway, to turn lights in the hallway on when the face of the apartment owner is recognized at the video intercom, and start adjusting climate control, lighting, etc. while that person is coming to the apartment. More on automation and smart home integration is described in our article “Using video surveillance in smart home systems”.
Alternatively, access control can be closely tied to intrusion detection in restricted areas. For example, the reaction to detecting an unauthorized person in the frame can be an immediate notification to the responsible person (via Email, Telegram, or smartphone) or an alarm. Read more about this in our article on intrusion detection in home security systems: “Safety of your close ones along with Xeoma video surveillance”.

Schools and Kindergartens:
Special access control to protect what is most precious: children in schools, kindergartens, and other child care facilities.

Warehouses and Construction:
Convenient entry with passes when hands are occupied. Logistic control.

Factories and Plants:
Not only access control for thousands of employees and vehicles but also time tracking.

|
Try also: The 360° Surround View module, designed to combine images from four wide-angle cameras installed around an object to create a 360° view — providing a “bird’s-eye view” effect. This module will help you get a complete overview around your yacht/boat, warehouse, or factory, allowing better control over docking, unloading, and perimeter security. Read more about the 360° Surround View here |
24 July 2024
Read also:
Kids video surveillance
Smart Home Integration with Xeoma: A Hands-On Guide
Warehouse video surveillance. Xeoma Presents: How to protect your goods and organize the work process
Try Xeoma for free! Enter your name and your email to send the license to in the fields below, and click the ‘Get Xeoma free demo licenses to email’ button.
We urge you to refrain from using emails that contain personal data, and from sending us personal data in any other way. If you still do, by submitting this form, you confirm your consent to processing of your personal data


