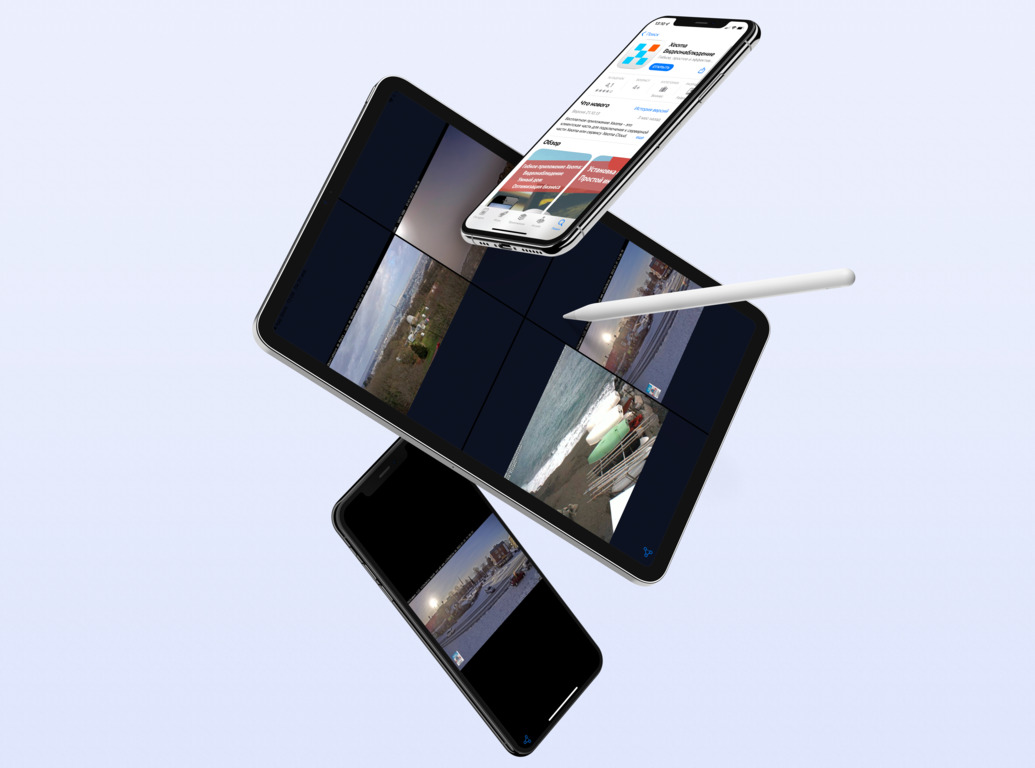
What is Xeoma for iOS?
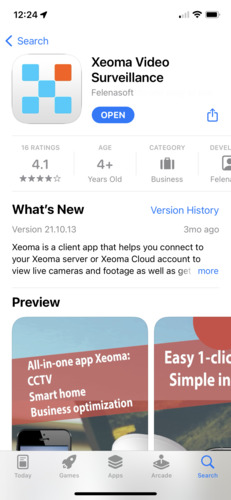
Xeoma for iOS is an official app developed by FelenaSoft company for organizing remote video surveillance. It can be downloaded from the AppStore. The application is completely free, and does not contain ads. It supports most necessary functions for remote access to your cameras: connection to the server part, viewing cameras and archives. Xeoma keeps your data safe and the app is verified by Apple.
Also compatible with: Xeoma Cloud Video Surveillance
Many clients who don’t want to create their own video surveillance server or are afraid that their hardware won’t be powerful enough to handle a large number of cameras, buy Xeoma Cloud subscription and use our server for data storage and processing. The application does not require powerful hardware and is easy to set up and use. All you need to do is to download Xeoma from AppStore, buy Xeoma Cloud subscription (click here to see the up-to-date prices) and connect cameras to Xeoma. Xeoma app for iOS devices might be a perfect solution for it. You can use it to have quick access to cameras connected to Xeoma cloud service.
Ways to work with the app
Xeoma mobile app for iOS devices suits both beginners who don’t want to bother with various settings, and advanced users who have their own video surveillance server based on Xeoma.
Remote connection to the server via mobile app allows users to view their cameras from anywhere in the world, access video archive as well as receive push notifications from modules, e.g. “Motion detector” or “Face recognition“.
Take it with you to vacation, business trip, to the place of work. Peek in when you have time at your babysitter or seniors or make sure those you care about are safe in the hospital.
Option 1: Instructions on how to connect to a static server
Part 1. On the server part.
1. Download and install Xeoma.

|
Please note that the server part of Xeoma must be installed for remote access. You can do it in the program via “Main menu” – “Install” – “Install”. |
2. Configure the program. Read more about Xeoma settings here.
3. Go to “Main menu” – “Remote access” – “Connect to”. Copy the password and IP address of the server to connect to it.
Note: innovative and free P2P connection can be used for the connection outside of your home network.
4. In Xeoma you can also create different users to give remote access to the server to several people at the same time (read more about users here). User can also view cameras available to him/her through Xeoma iOS application. For such connection enter server IP address and specific user password (you can set the password in users settings).
Part 2. In Xeoma app for iOS devices
1. Download the Xeoma application from the AppStore and launch it.
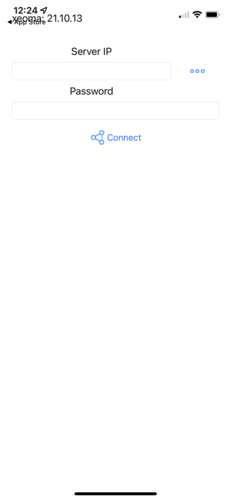
2. In the opened window, enter the previously copied data for connection: password for Administrator (see pt.3) or user (see pt.4) and the server part’s IP address, or the P2P connection data.

|
If you are connecting from another network (not a local one), your server must have a static external IP address. To get one, contact your internet service provider. You can also use our service “Repeater” which will replace static IP address. If you use Xeoma Cloud (our remote cloud server) then you can connect from any device and any network. |
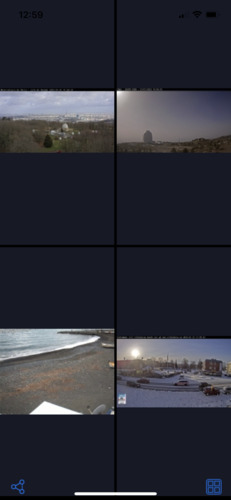
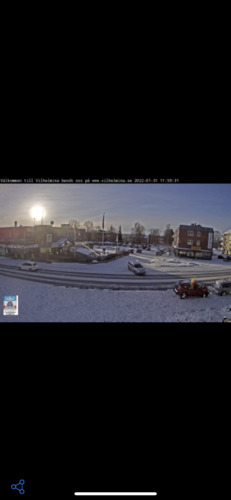
3. If you entered the data correctly, your cameras will appear on the screen. You can open one of them to full screen by clicking on it, and you can select the camera display mode most convenient for you by clicking on the button in the lower right corner. To view your archived recordings, select the camera you want and click on the “Folders” icon in the lower left corner. A time line will appear at the bottom where you can select the time period for which you want to view the archive. To see recordings from other days, click on the “Calendar” icon in the upper right corner and select the day you want.
4. To return to the connection page, click on the “Chain” in the lower left corner.
Option 2: Instructions on how to connect to Xeoma Cloud
If you use our Xeoma Cloud service you need to do the following for connecting it.
1. Purchase Xeoma Cloud subscription. Check all available tariffs here.
2. After payment you will receive an email with connection info.
3. Download and run Xeoma application. In the opened dialog enter the data you received in your mail in the corresponding fields.
4. Done!
Adding cameras in Xeoma app
You can add cameras directly from Xeoma app only in the version for Android OS. Get a detailed information about it here.
But if you want to connect cameras via iPhone or iPad then you can do it in following simple way.
Adding cameras via browser
1. On your server part go to the settings of the cameras that should be displayed in the web version, and add the “Web server” module to the chain of each camera.
2. Go to the module settings by clicking on it, and copy the URL to access the server through your browser. You can also set a username and password to access the web version of the program below.
3. Past the previously copied URL into your browser’s search box and press Enter. If you specified a username and password, enter them.
4. Done, now you can view cameras, as well as change settings and add new cameras directly from your Safari browser.
Read more about the Web server features here.
Mobile notifications
One of the most used features in the app for iOS devices is push notifications. When any detectors are triggered, such as “Motion Detector”, your smartphone will receive a notification. To set up such notifications, add the “Mobile notifications” module to the chain. Read more about how the module works in this article.
Decoding settings
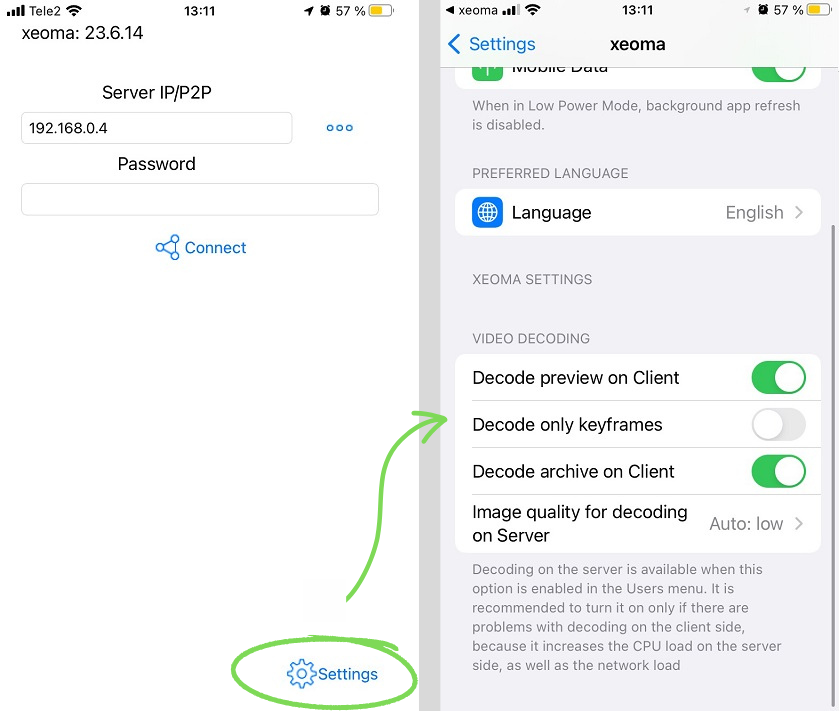
Starting with Xeoma 23.6.14 the Connection screen of the iOS app has a new Settings button that you can recognize by the blue Gear icon in the bottom right corner. Click on it to be taken to the settings interface within iOS, where you can set preferences as to which part should be doing decoding, and the quality of streams. See more on decoding options in the Xeoma User Manual
Thus thanks to Xeoma mobile app for iOS devices users can always have access to their cameras wherever they are. All the most important information is always at your fingertips and in case of alarms you can run the app and find out the reason for the alarm. The intuitive settings and simple interface make the app easy to use and accessible to every user, from beginners to experts.
Updated June 16, 2023
Read also:
Mobile video surveillance with Xeoma free Android app
DIY video surveillance system
Cloud Video Surveillance: comparison of the most popular services
Server and client settings: the difference
