Layouts Management in Xeoma: camera grid and screen styles
|
|
Multiple camera feeds on a single screen can be quite a confusing mess, unless arranged properly. Xeoma video surveillance solution holds an abundance of tools to help you with that. Too many camera images on one screen? Want the cameras to scroll automatically? Need to get rid of black borders on the sides of the video? Want the program to show exactly what it detected and where and even enlarge the right window when it happens? How about an interactive map of the complex with every camera accounted for? |
All these can be customized by accessing Xeoma’s “Layouts menu”. Click the button with a window to start optimizing your screen. The most basic (and the most useful) function is “Manage layouts”. To arrange the camera grid and “screen styles” by assigning a specific set of cameras to a single screen choose “Layout: custom” and click on the camera images you need (they will be highlighted in blue), then click the window-button again. In the upper left corner you will now see 2 tabs: “All cameras” and “Page 1”. The latter is the one you’ve just created, right-click on it to rename the tab, e.g. the area these cameras oversee. If you need to change the images’ positions on the screen, simply drag them.
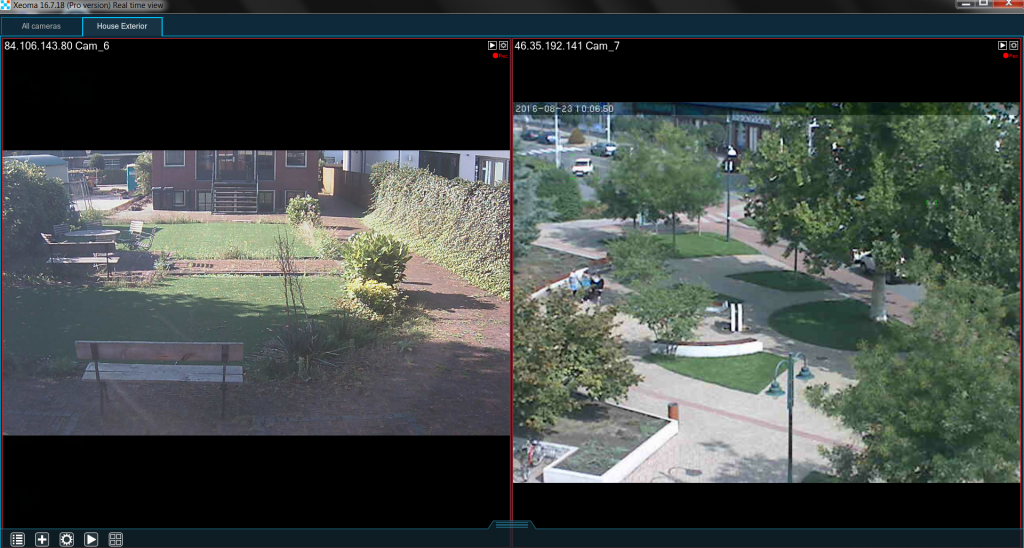
If you need another page simply go to “Layouts menu” → “Manage layouts” → “Layout: custom” → “Add new tab” and highlight other cameras. Made a mistake while selecting cameras for a certain page? Choose “Edit current tab” in the same menu and select/deselect the camera images. Don’t need the page anymore? Click “Delete current tab” (the cameras will stay connected to the server, you can still see them in the “All cameras” tab). Finally, if you want Xeoma to arrange the cameras automatically by the sample, choose “Layout: XxY” (the first number is the amount of cameras across the window, the second – down the window). If you don’t want the tabs to be visible in the window, go “Layouts menu” → “Manage layouts” → “Hide pages panel”.
The black borders on the sides of the image can be rather annoying. To get rid of them you will need to go “Layouts menu” → “Manage layouts” and choose “Stretch: select cameras” (if you want to affect only specific cameras) or “Stretch: all cameras”. Now you can select the the type of stretching: “Original”, “Stretch” or “Fit in”. The first means no stretching – the images are shown the way they are. “Stretch” will eliminate the black borders by stretching the image in the right sides, which will slightly affect the proportions. Please be advised that “Fit in” will force the image to both fit the window and keep the proportions intact by cutting parts of it off if necessary.
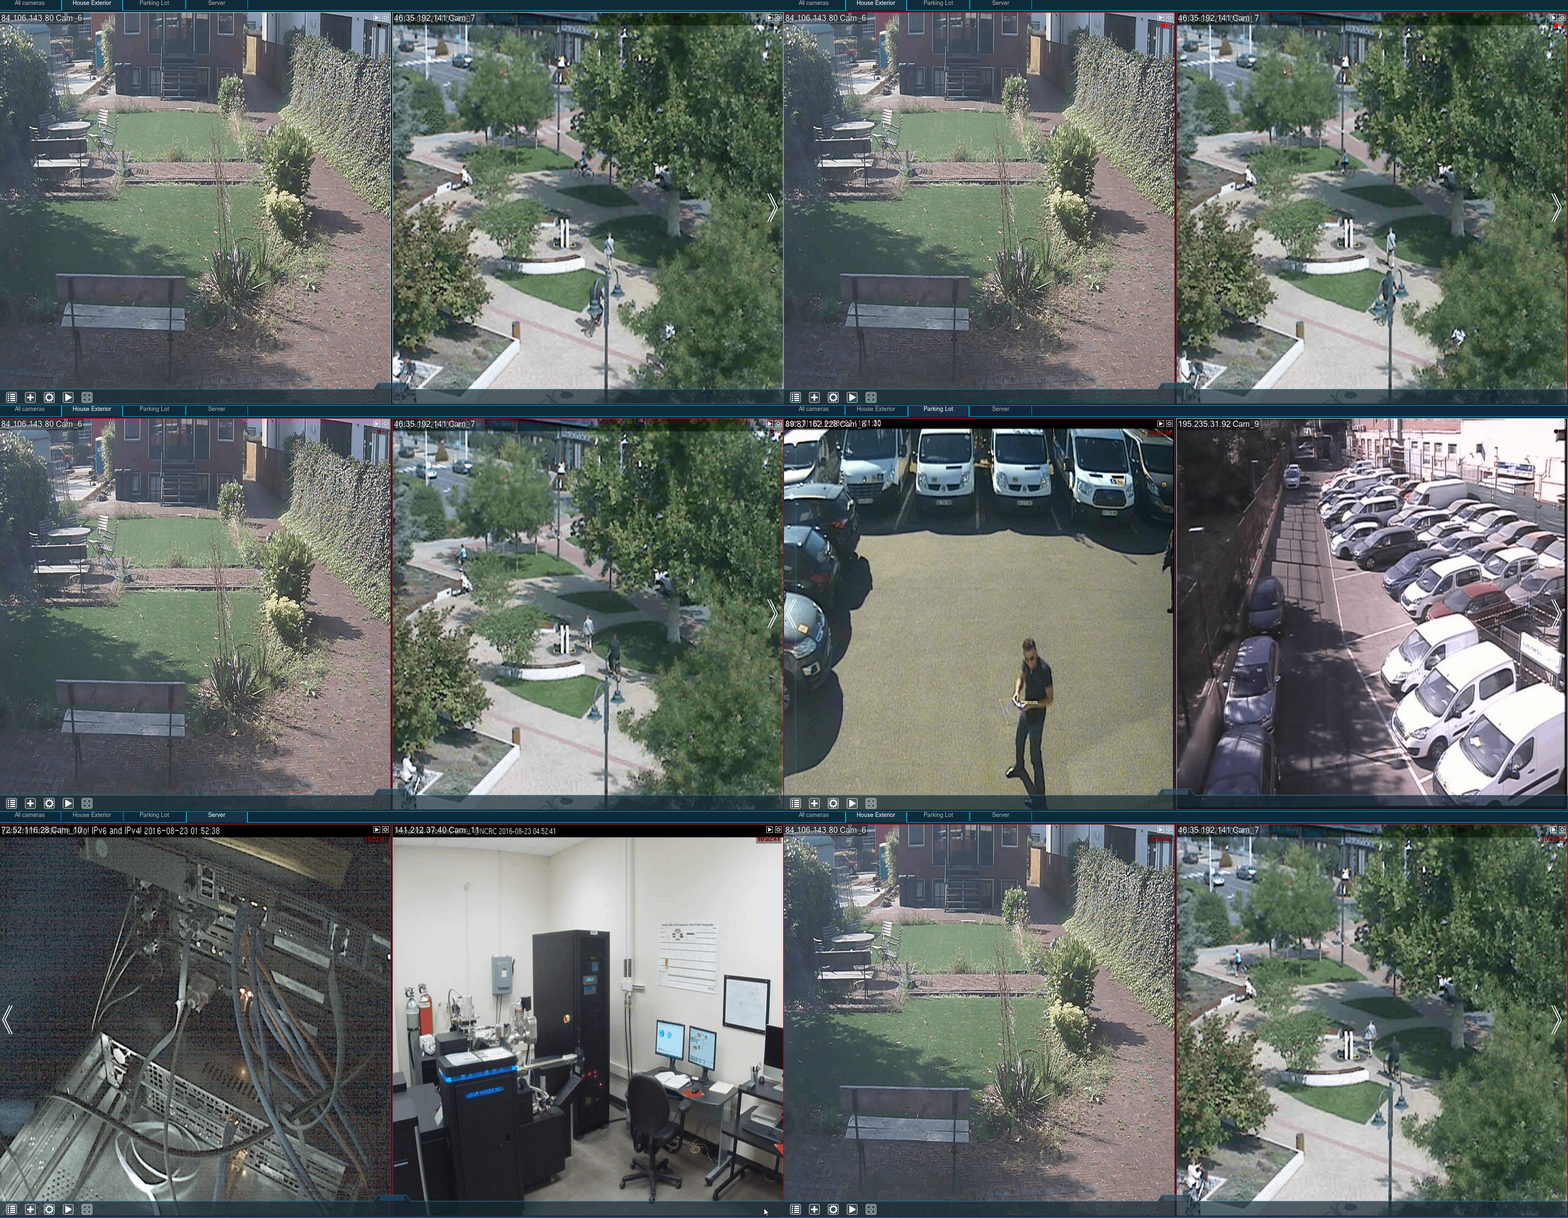
If you are making your own security station, you may want Xeoma video surveillance solution to automatically scroll between several pages with a fixed interval. To do that go “Layouts menu” → “Manage layouts” → “Automatic scrolling” and choose the interval (5 sec, 1 min or 5 min). All done!
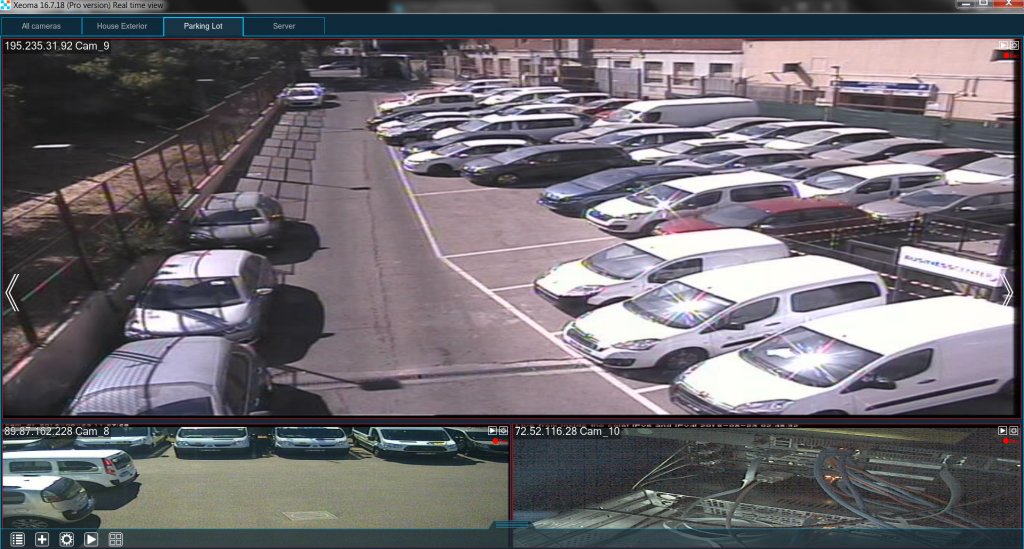
When you have several camera feeds on a single page one or two of those may be more important than the others. If you want them to take more space on the screen, you will need the “Larger grid mode” menu. There pick “Larger grid: 1×1” (if you need 1 big image, pick “Larger grid: 2×1” for 2). If Xeoma enlarged the wrong video, access the “Larger grid mode” and choose “Click-to-add mode”, then simply click on the right image.
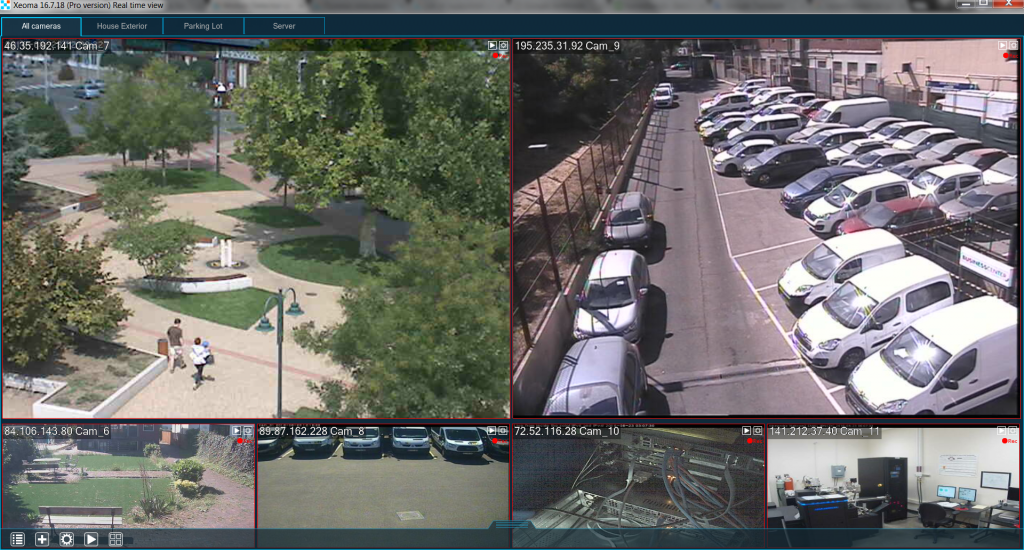
If your chains have detectors in them (e.g. “Motion Detector”) you can make Xeoma enlarge an image as soon as a detector there is triggered. Go to “Layouts menu” → “Larger grid mode” → “Form group by detectors”. Easy!
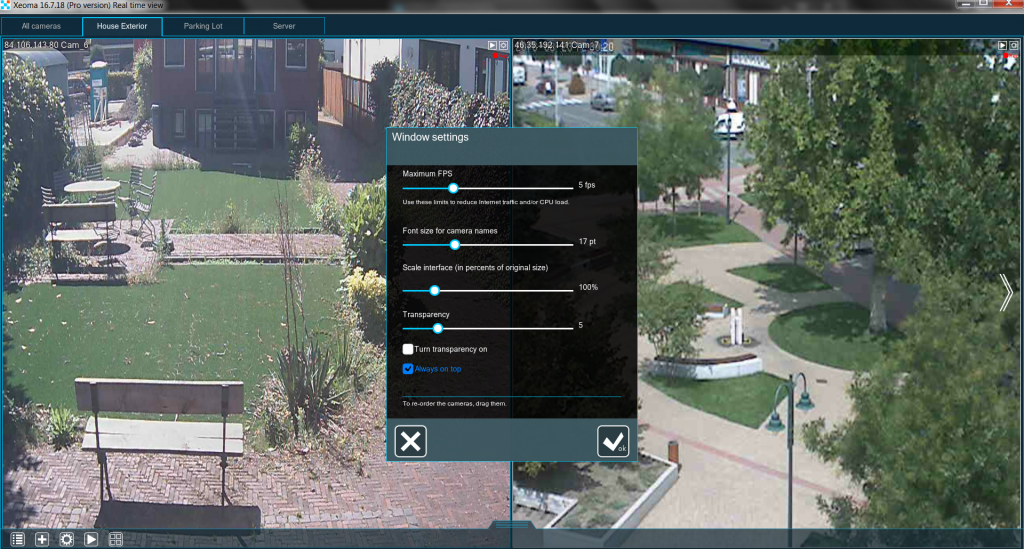
You can adjust Xeoma’s window itself by accessing the “Window settings” menu. If either your traffic or your CPU experience a high load you can adjust the “Maximum FPS” slider. The image will be less “smooth”, however. If you can’t see the camera names on screen, check the “Font size for camera names” and set it higher. The interface itself can be enlarged too by adjusting the “Scale interface (in percents of original size)” slider. You can also enable the transparency of the window (by checking the box “Turn transparency on”) and change it with the slider “Transparency”. Finally, you can check the box “Always on top” to make sure that Xeoma’s window is never blocked by another one.
Sometimes the program can prove to be more attentive than a human. Suppose it manages to notice a movement the guard missed. Can it point out exactly what moved? Sure. Go “Layouts menu” → “Visualization settings” → “Turn on visualization of movement”. Now Xeoma video surveillance solution will consistently highlight every movement the “Motion Detector” noticed with a frame.
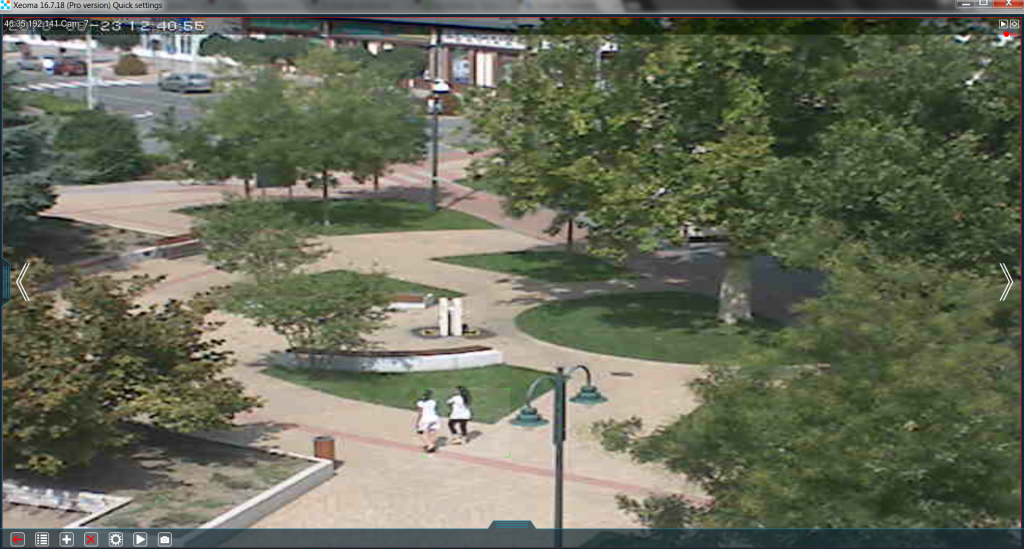
You can also visualize the trajectory of the moving object by selecting “Turn on movement track visualization” in the same menu. Now Xeoma will add green dots on the screen following the object’s path.
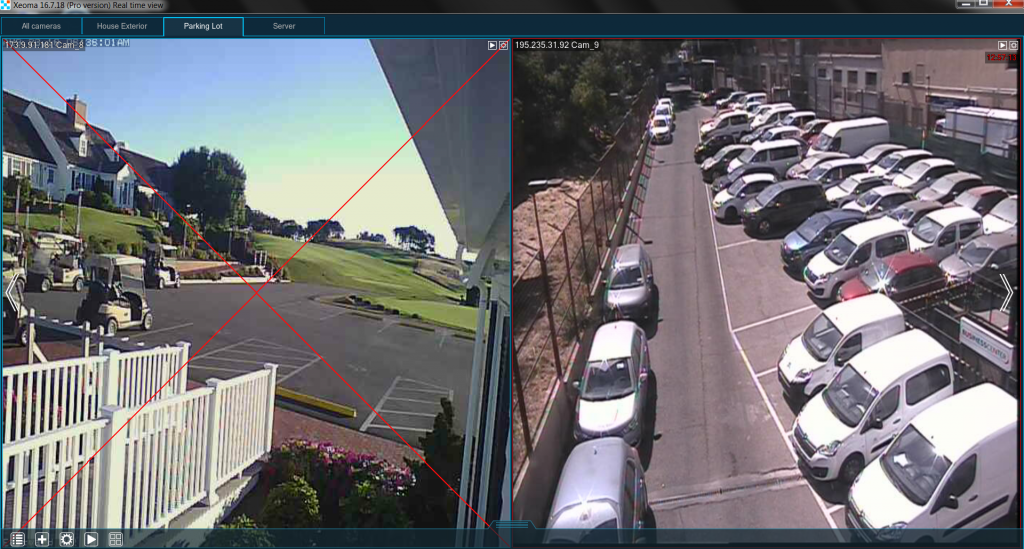
If a camera is disconnected or not sending any feed you would want to know that right away, Xeoma can help you with that, too. Go to “Layouts menu” → “Visualization settings” → “Show red cross over disconnected cameras”. With this option on, every time the image of any camera “freezes”, it will be crossed out alerting the viewer.
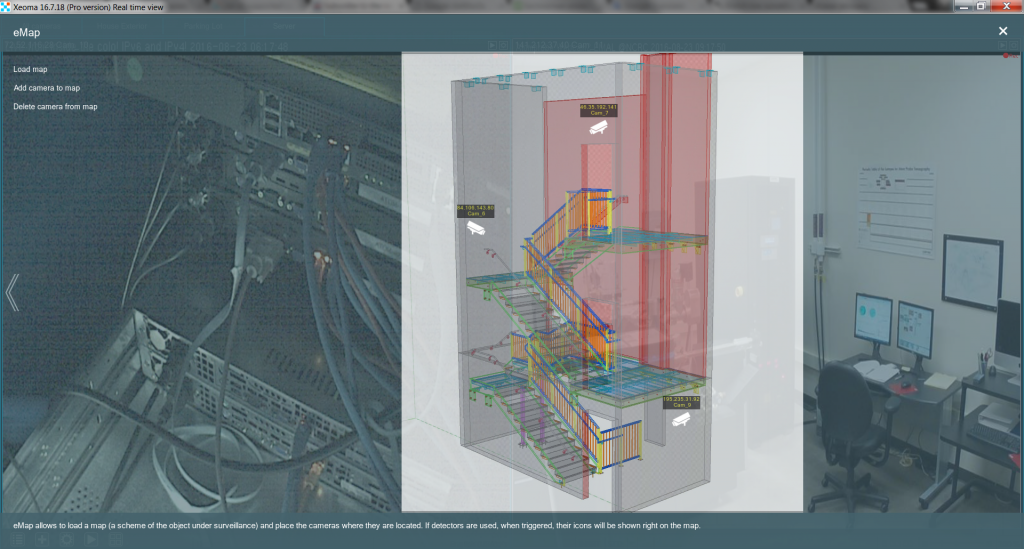
If you are managing the security for an entire building, you may need an interactive map with cameras marked on it to facilitate the control. Go to “Layouts menu” → “eMap” and press “Load map”. Now click the folder-button to the right to choose the file containing the map (any image file will do: png, jpg, bmp, etc.). Press “Save” to keep this map in Xeoma video surveillance solution. Once the map is loaded you can start adding cameras to it by clicking “Add camera to map”. Select the camera’s IP in the drop-down menu and click its location on the map. After the camera appears on the map you can also press and turn it so that it faces the right way.
When any detector is triggered within a chain for a camera, you will see the detector’s symbol outlined in red under its respective camera.
If you are experiencing FPS issues (“jerky” video) with a high resolution camera, you can try accessing “Client decoding settings” in the “Layouts menu”. Here you can change “Video decoding on the client side for live preview”. By default, it’s set on “Auto detection”, but you can switch it to “Disabled” if you are having troubles viewing your cameras by remotely accessing the server. Be advised, however, that this will increase the server’s load. Choose “Enabled for Single Camera View mode” or “Enabled” if your server’s load is too high. This will put more strain on the client, though.
Changing “Video decoding on the client side for archive view” may also help in reducing the server’s load. Finally, you can use “Hardware acceleration of video decoding” to deal with FPS issues. It can be either “Intel Quick Sync” (for processors with integrated graphics) or “NVIDIA CUDA” (for graphics cards). Please make sure that the client-machine’s hardware supports either of these two, otherwise it won’t work.
There is one more way to somewhat relieve the server at the expense of the client and that is to go “Layouts menu” → “Enable buffering on the client side”. More ways of reducing CPU load.
Layout management is a very important factor in creating effective and convenient security systems protecting both your private and business life.
