Mounting and connecting network disks to Xeoma
How to mount a network disk: mounting a network disk using the system tools in Xeoma video surveillance software
In this article you will find full instructions on how to mount a network disk using the Windows system tools and save recordings from Xeoma to it.
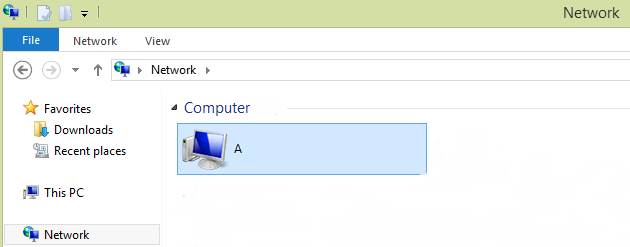
Select the network disk you want to mount.
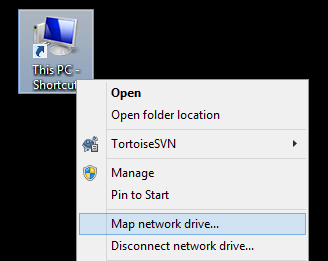
Open the context menu.
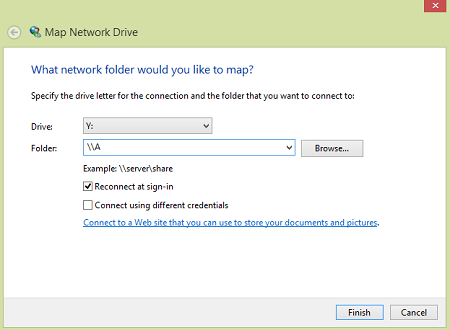
Give the disk a name and specify a folder. Check the desired options.
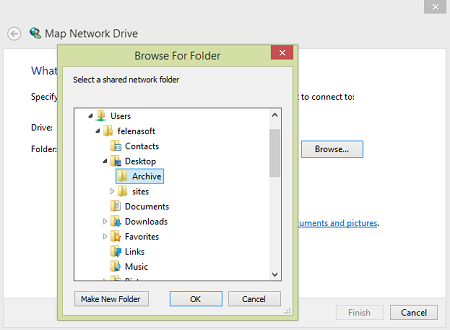
Or click “Browse” and select a folder.
The mounted network disk will be accessible like a normal disk.
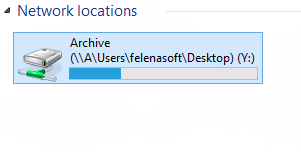
Specify the path to the network disk in the settings of the “Preview and Archive” module and save it.
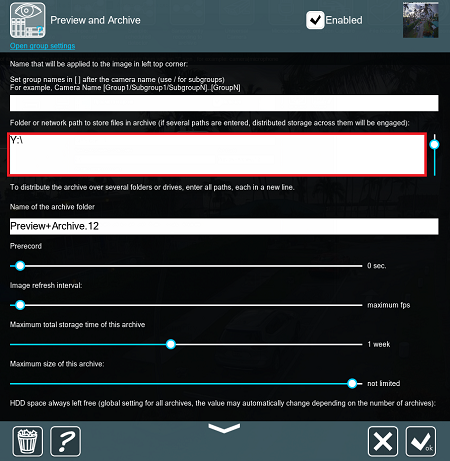
The recordings will be saved in the specified folder.

How to mount a network disk: mounting a disk with Xeoma’s built-in tools
Xeoma has its own mounting feature. It also helps if Xeoma does not see the network disk after system mount.
You can do it the following way:
After the disk is mounted, you can set the path to this disk in Xeoma module settings. Check if it works. After that you can delete the Xeoma mount if needed and leave the system mount (see above).
How to mount a network drive on a Mac OS
Open the Finder. Open the “Connect to Server” window (press Command+K to do this). Enter the path to the network disk and click “Connect”.
Next, you need to enter the authorization data to connect to the disk.
After you have clicked “Connect” the network disk will be mounted. This can be checked in the list of public access.
In order to make the network disk available when you turn on your computer, you need to add it to the “Login Objects” (click the Apple menu and select “System Settings”) -> “Users and Groups”. Open the “Login objects”, then click on “+” and add the network disk (select the disk and press “Add”).
If your disk does not appear, please open the Finder, go to the “General” tab and check the “Connected Servers” box. Now your disk will definitely appear.
Specify the desired path in Xeoma settings and save it. The path to the mounted devices must start with “/Volumes/”.
Now we see that the archive is recorded on the specified path.
Resolving network disk mounting problems
Q: Mac OSX: I specify the path to the mounted folder in the “Preview and Archive” settings, but instead of writing there, Xeoma creates the same folder in “/Volumes/”.
A: Go to the mounted folder where you want to save the recordings, for example “/Volumes/disk/camera”.
Open the context menu of the folder and look at its properties. It should show the path/location of the folder as the Mac system itself sees it. And it may actually be different from “/Volumes/disk/camera”. If so, copy this “new” path and enter it in Xeoma’s “Preview and Archive” settings instead of “/Volumes/disk/camera” – it should work.
If you are an advanced Terminal user, you can run the df command to show you the true paths to the mounted folders. Again, if it is different from “/Volumes/disk/camera”, use it.
Q: I enter the path to the mounted drive in the “Preview and Archive” settings, but it is reset, not accepted.
A: You need to check that the disk is actually mounted and visible in the system. It is also possible that access rights are missing.
Q: Instead of a mounted disk Xeoma writes to the main disk reserved for the system, it takes up all the space and makes the system slow down. Why and what to do?
A: Probably, when the system is restarted Xeoma starts before the disk to which Xeoma should write is mounted so Xeoma writes to the available disk. In this case we recommend setting a longer delay time in the startdelay parameter in the Xeoma autostart script. See the script storage folder here.
Updated October 21, 2021
Read also:
Archives and recordings in Xeoma: troubleshooting and advice