Marking module in Xeoma
|
|
If you have multiple cameras on a single server and, consequently, several video feeds on one screen, it is important to always keep track of every camera’s position, and date and time it shows. If you are a security guard, you need to know exactly where to go, when the camera detects something and there is precious little time to think. |
Xeoma was made with this in mind. The module “Marking” is what serves all these functions. You simply add it to your chain (any position will do) and click it to access its settings.

|
If you are using direct saving to the archive (the box “Enable H.264 recording to Archive without conversion” is CHECKED in the Universal camera settings), then time and date will show up in the “Archive” as subtitles. Other types of Marking are not available to be showed up in Archive in case you are using direct saving. Uncheck the box “Enable H.264 recording to Archive without conversion” to see Marking in Archive recordings. |
First, you need to choose the “Type of marking” at the top of the window.
a) If you pick “Date and Time” you can also adjust the “Date/time format” you prefer in the drop-down menu below. The slider “Font size” is also worth paying attention to. One of the common problems for the new users is that they can’t see the marking on the main screen simply because it’s too small. Some cameras display date and time automatically, though.
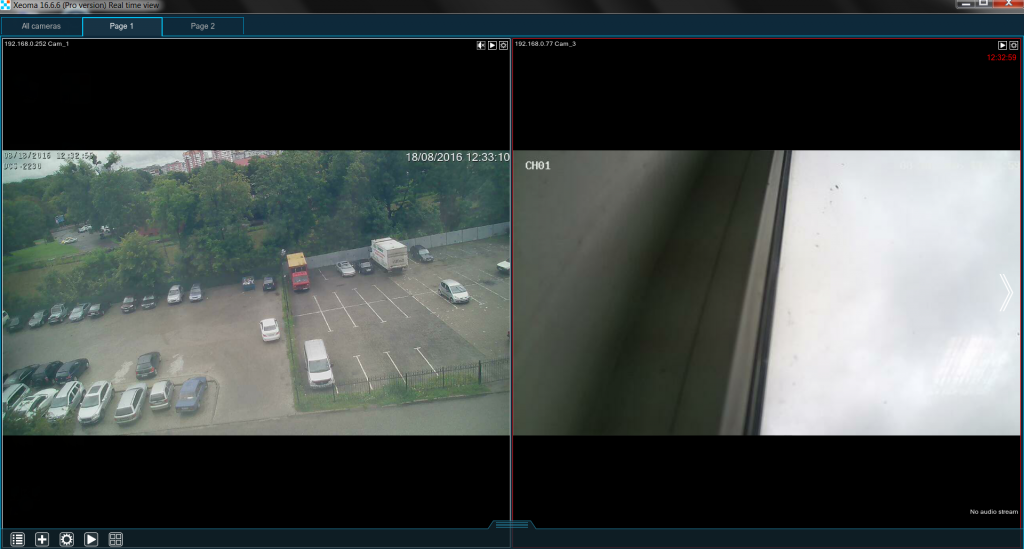
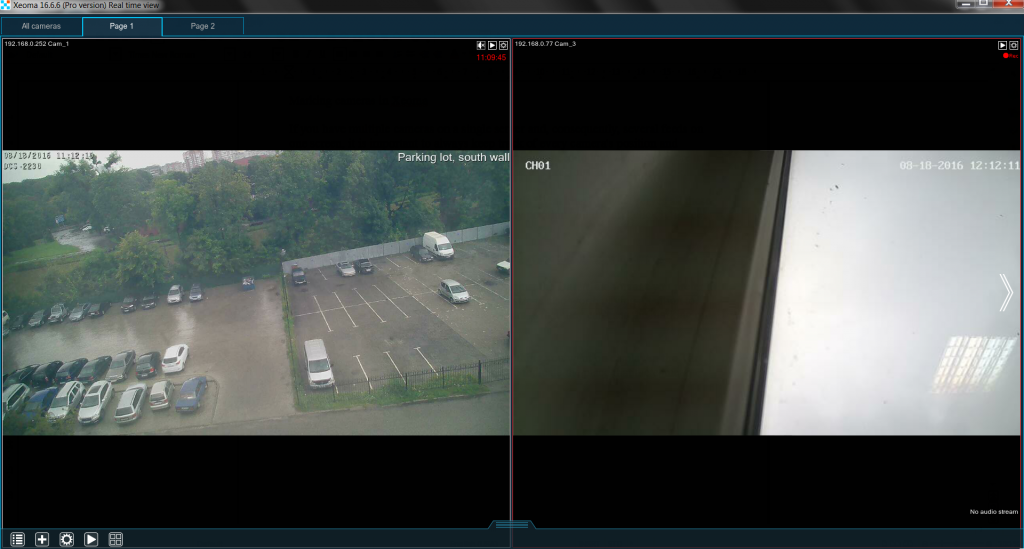
b) If you pick “Custom text” you can input anything you want on display in the Text field below. One of the best ways to use it, is to indicate the place that the camera watches and its position on the video feed.
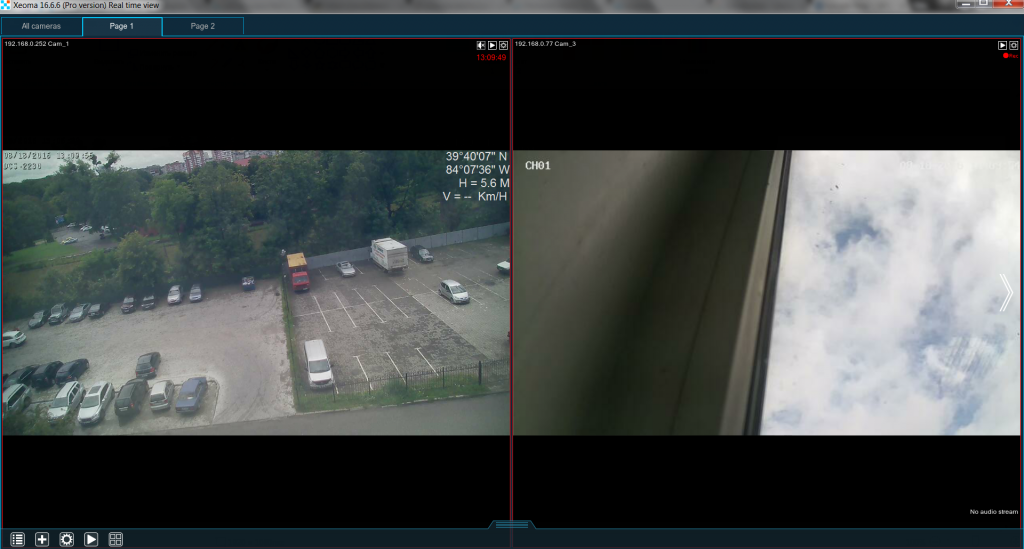
c) If you pick “GPS coordinates” you need to make sure that you have specialized GPS equipment connected both to your camera and to your machine. If it is connected properly, the video feed will now show the camera’s longitude and latitude, height and velocity (if any).
d) If you pick “Image overlay” you can either input the full path to the image-file in the field “Path to the image to overlay” or click the button to the right and pick the file through explorer. Don’t forget to adjust “Scale (on sides)” and “Transparency” sliders to prevent the image from obstructing the view. For example, you can use this feature to put a map with the marked camera position on screen for easier navigation, or embed your logo to the camera video feed.
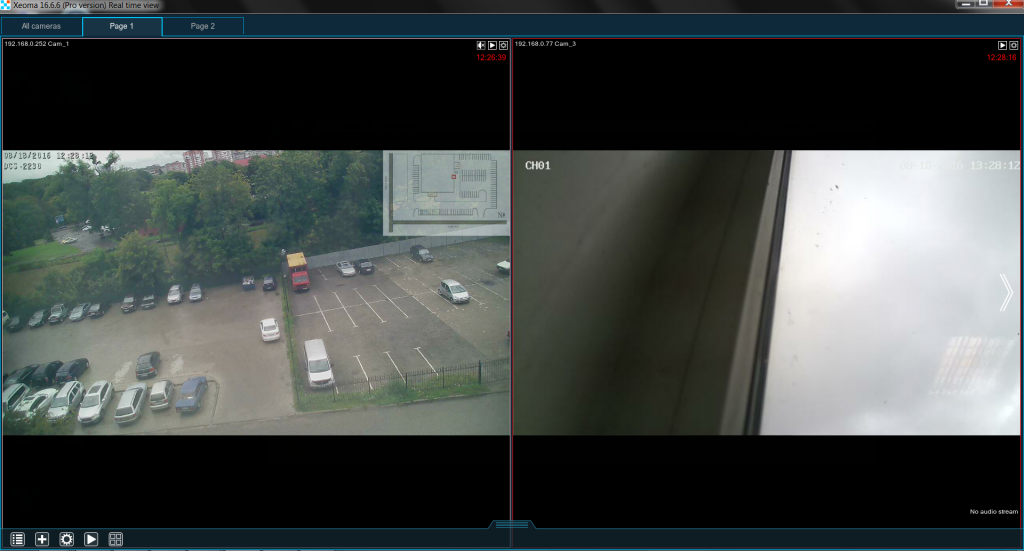
For all of the above you can pick the “Position” on screen (any of the 4 corners).
Do you need more than one marker on the same camera’s video feed? No problem! Simply put several “Marking” modules in your chain and set them to show what you require in different corners of the screen.
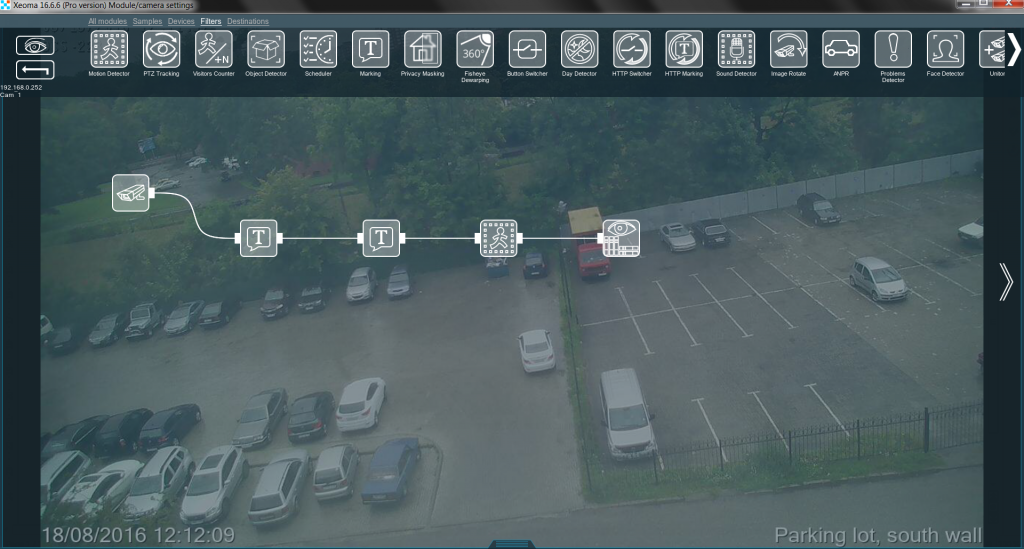
As you see, even with all the camera detectors, it is still very easy to put all the information you need right where it can be accessed with no difficulties whatsoever.
Marking in the archive
“Can I see my markings in the archive as well?”
If you are using direct saving to the archive (the box “Enable H.264 recording to Archive without conversion” is CHECKED in the Universal camera settings), then time and date will show up in the “Archive” as subtitles (very soon custom text will also be available). Other types of Marking are not available to be showed up in Archive in case you are using direct saving.
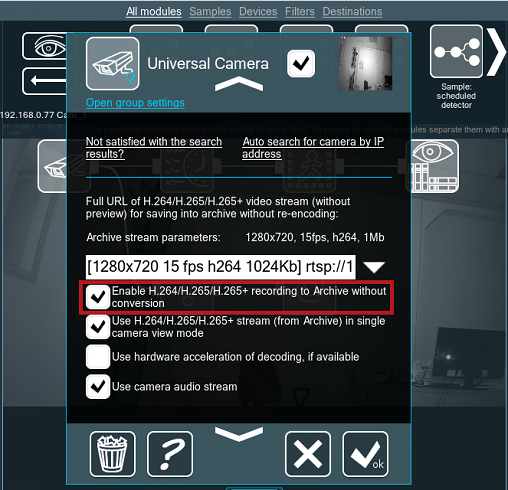
Uncheck the box “Enable H.264 recording to Archive without conversion” to see Marking in Archive recordings. This way the stream will be decoded on the fly and recordings will be in the .xem format, and for such recordings all types of Marking are available.
Read also:
Reducing CPU load when H264 cameras are used
Filter modules in Xeoma
