How to reduce CPU usage while working with rtsp (h264) camera
Read also: Dual Streaming in Xeoma VSS
Read also: All methods of reducing CPU load
If you use an h264 (rtsp) camera and would like to reduce CPU usage, you are welcome to try Xeoma’s option to store high resolution video streams directly into archive, without re-decoding the streams.
If you are using h264 (rtsp) camera or cameras, you might well be receiving many Mpix image from your camera and seeing it in the preview window. But as often as not, the priority is not the ability to view cameras real-time but to store high quality into the archive:
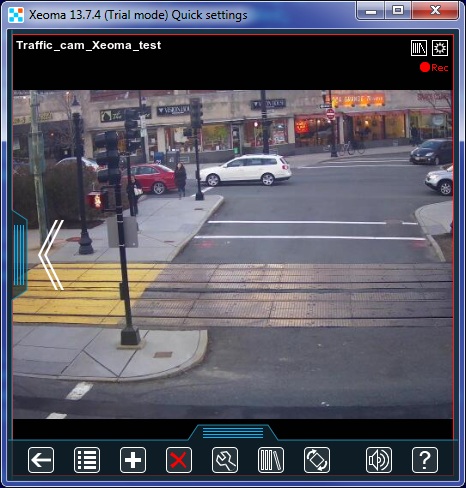
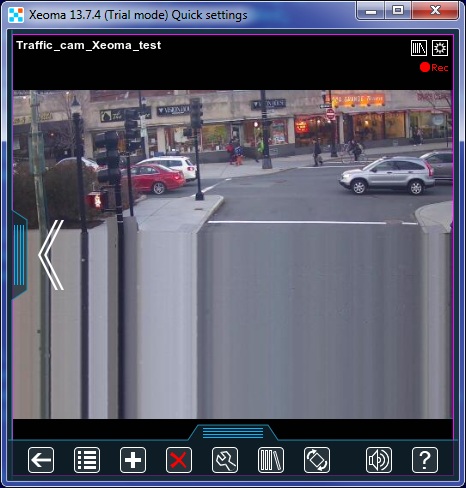
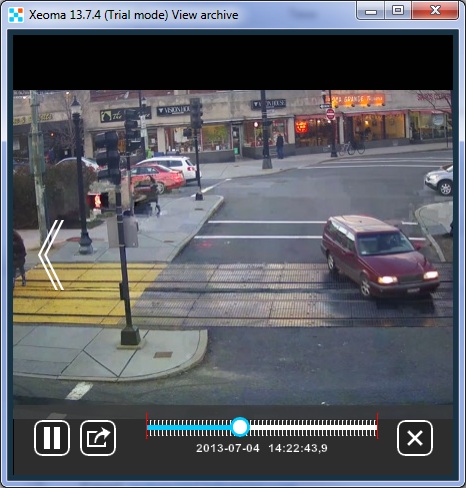
If the machine is slow or you have many high resolution rtsp cameras, it may cause high CPU usage resulting in image distortions like this:
Tip: you can see a distorted image on preview in Xeoma if the bitrate for preview URL is too high. You can lower it in the camera’s admin page in browser, Xeoma will pick up the changes.
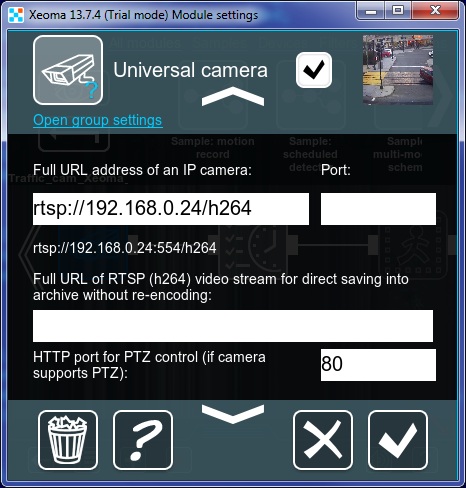
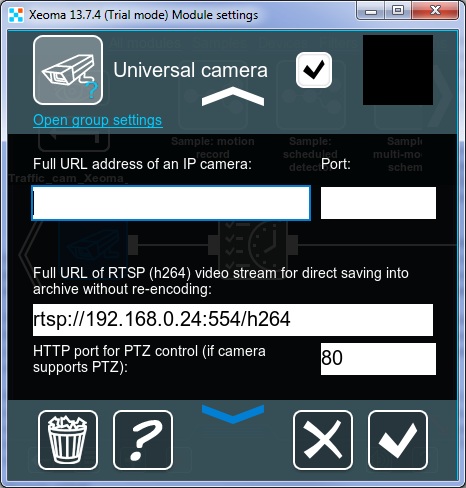
In both these cases we recommend to make use of the camera’s dual streaming and try the direct storing into archive without re-decoding. To do that, please go to the camera’s settings in Xeoma. You will see there that the regular URL to work with the camera is given in “Full URL for IP camera” field:
To establish direct saving into archive, paste the URL for hi res RTSP (h264) stream into “Full URL address of the RTSP (h264) video stream…” field. In regular “Full URL address for IP camera” you can specify a jpeg/mjpeg/rtsp URL for lower quality stream (for preview and detectors’ work):
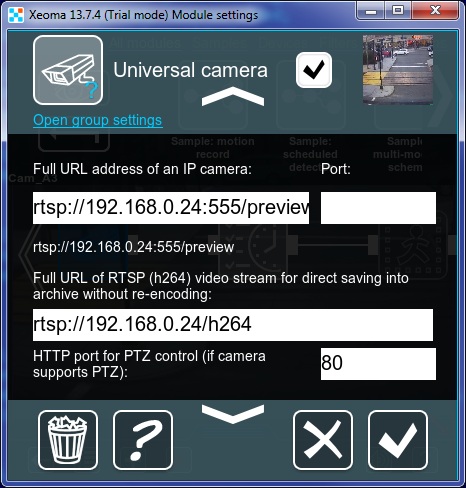
You will see a lower quality picture in preview window.
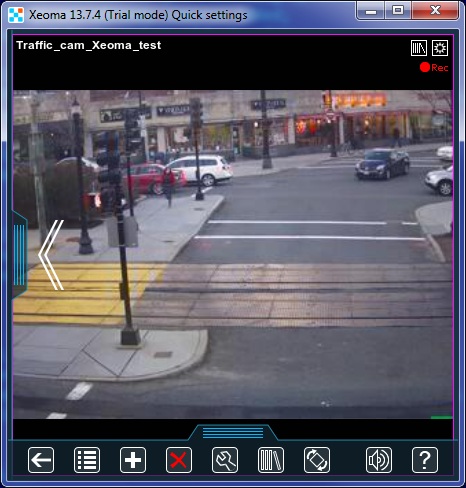
But you will get maximum quality footage stored into the archive at the same time:
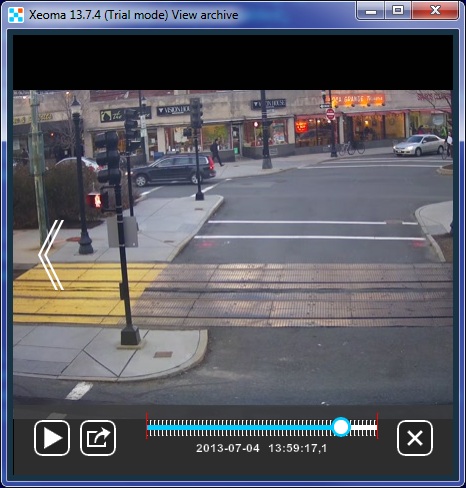
If you don’t know the URL for a stream of lower quality, or simply don’t want to use it (when real-time view is not necessary), you can leave this field blank:
You will know that the recording is on and going well by this sign:
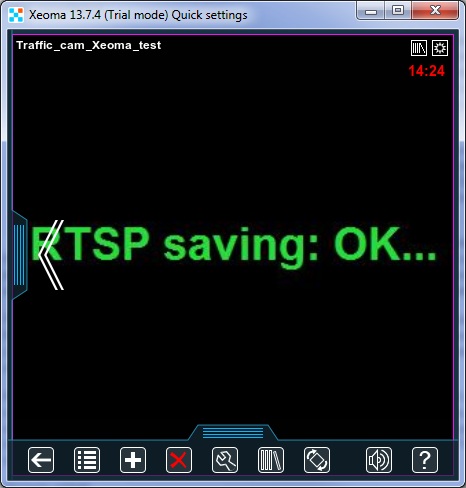
Even without lower quality stream shown in preview, you will get a high quality stream stored to the archive, and CPU load will be significantly lower. Also, you can tick ‘Use H.264/H.265/H.265+ stream (from Archive) in single camera view mode’ in the ‘Universal camera’ module’s settings to see archive URL in single camera view module (i.e. no image on preview, and high quality image in single camera view mode and archive recordings)
From Xeoma version 19.11.26 there’s an option ‘Decode only keyframes’ available in the ‘Universal camera’ module’s settings.
It is shown when an H264 stream is used in the ‘Full URL address for preview stream from the camera (secondary, low resolution stream (mjpeg recommended))’ field (not available for H.265 (hevc), H.264+, H.265+, MJPEG and MPEG-4).
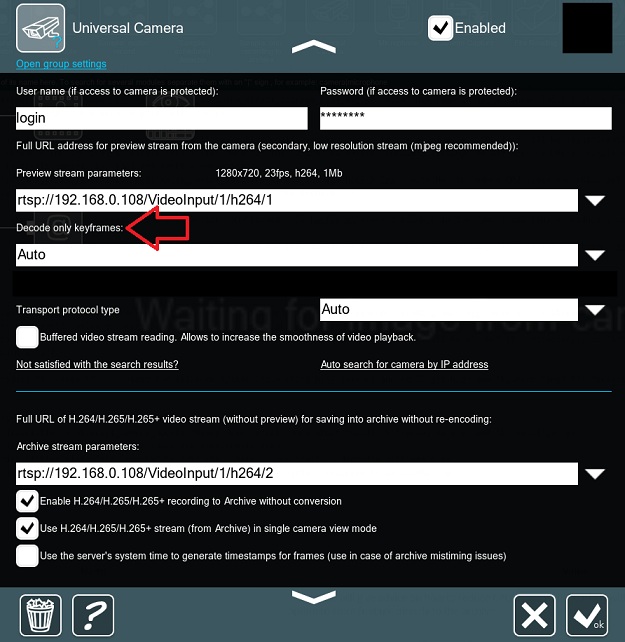
Check this box to decrease the processor load coming from decoding of compressed H264 streams by decoding only keyframes of the stream. The higher the resolution of the stream used “for preview”, the better this option helps to decrease the processor load. Might result in less smooth (more “jerky”) stream perception – depending on the key frames interval set in camera.
You can choose ‘Auto’ to let Xeoma choose when decreasing of the CPU load is needed (this way decoding will be on when it’s necessary), or ‘Activated’ to always use the decoding, or ‘Disactivated’ to turn it off.
This is how to reduce CPU usage in your video surveillance system while using h264 cameras and still get high quality recordings for forensic purposes or simply later view of events.
Check out our FAQ (Frequently Asked Questions) here.
1. I setup ‘Decoding only key frames’ in the ‘Universal camera’ module’s settings to reduce CPU load. This helps – reduces the load significantly, but only I’m not sure what effect it has on motion detection.
2. Could you please advise how can I configure decoding settings to lower network bandwidth from Xeoma server to client in all cameras view mode?
Here are the ways to reduce traffic consumption between server and client:
1) On the server side go to Main menu -> Remote acces -> Users – and tick Forced video decoding on the client – this way a compressed stream will go over the network from the server to the client.
2) On the client side use tabs to distribute the cameras – the network is loaded only from those cameras that are currently on the screen, so several tabs with fewer cameras consume less traffic than all cameras on the screen at the same time.
3) On the client side go to the Layouts meny (squares icon on the lower panel) -> Client decoding settings – set Maximum number of cameras for which a high resolution stream will be displayed to 0 – so if there are several cameras on the screen, only the preview stream will be transmitted to the client, it usually consumes less traffic than the archive (higher resolution) stream.
4) (if you don’t use the 1st paragraph) On the client side go to the Layouts menu -> Client decoding settings – choose “Enabled” in Video decoding on the client side for live preview.
5) On the camera’s side lower 2nd stream parameters (resolution, FPS, bit rate). If you’re using MJPEG for the 2nd stream, then change it to H.264/H.265/H266.
6) Use more effective compression on the cameras (e.g. H.265/H.265+/H266 instead of H.264).
April, 28 2016
Updated: July, 9 2024
Read also:
Dual Streaming in Xeoma VSS
Xeoma User Manual: more about module ‘Universal Camera’ and its settings
Hardware acceleration
Layouts menu (grid, visualization, decoding settings)
Video surveillance minimum system requirements calculator