Xeoma security monitoring: Device List (devices by groups)
Device list is an option in Main menu that helps organize cameras in groups and do a quick jump to the selected cam. Handy when working with many cams.
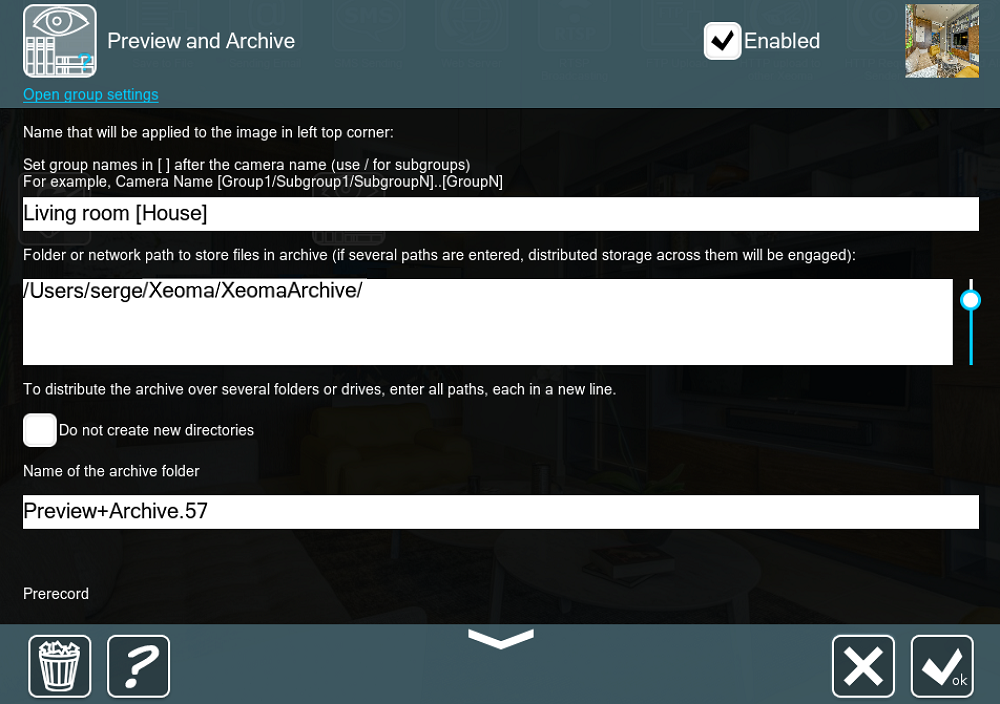
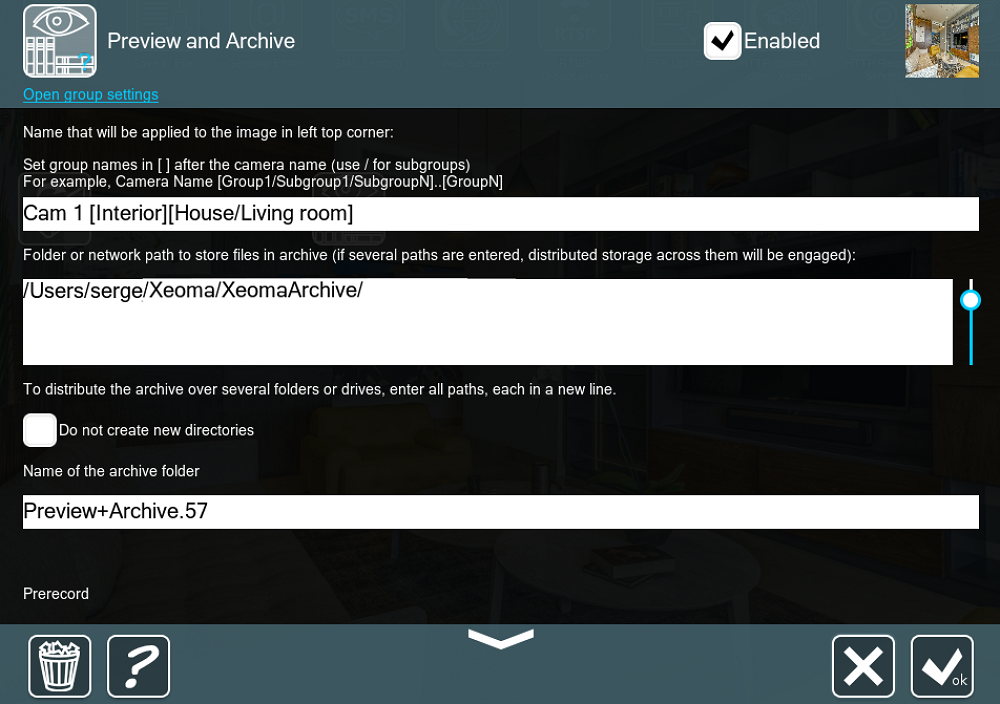
After your cameras are set up and laid out on the preview, you can change camera’s name and specify what group it should belong to. Put it in square brackets:
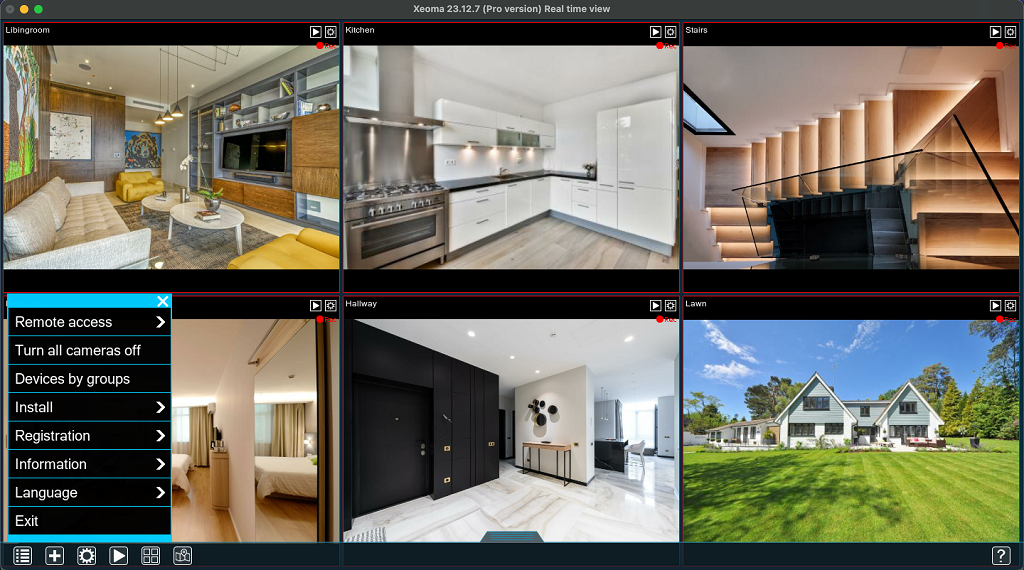
Then, turn on the Device List in Main menu by selecting the ‘Devices by groups’ option:
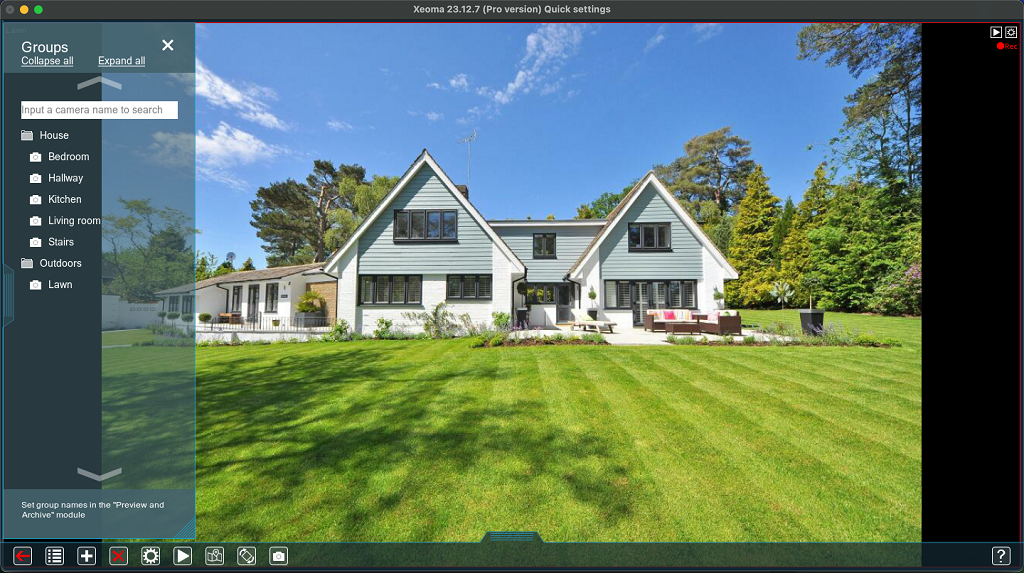
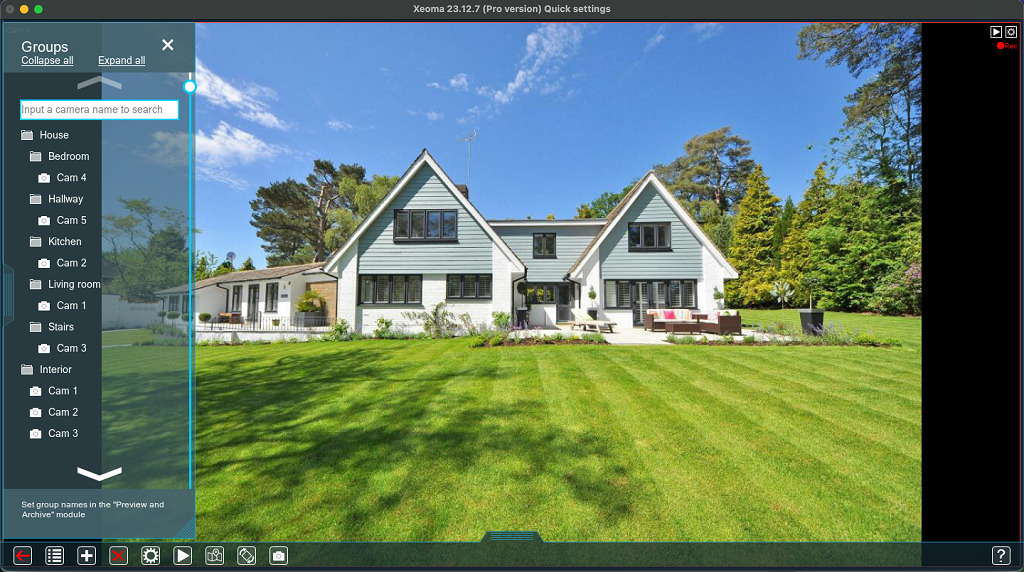
The panel will be opened on the left side. It can be dragged horizontally. Also, beginning from Xeoma 23.12.7, you can open the “Devices by groups” menu with CTRL + G (CMD + G for Mac) hotkey. When you click on a camera in the list, it will be opened. In the example, we divided all cameras into 2 groups – ‘House’ and ‘Outdoors’.
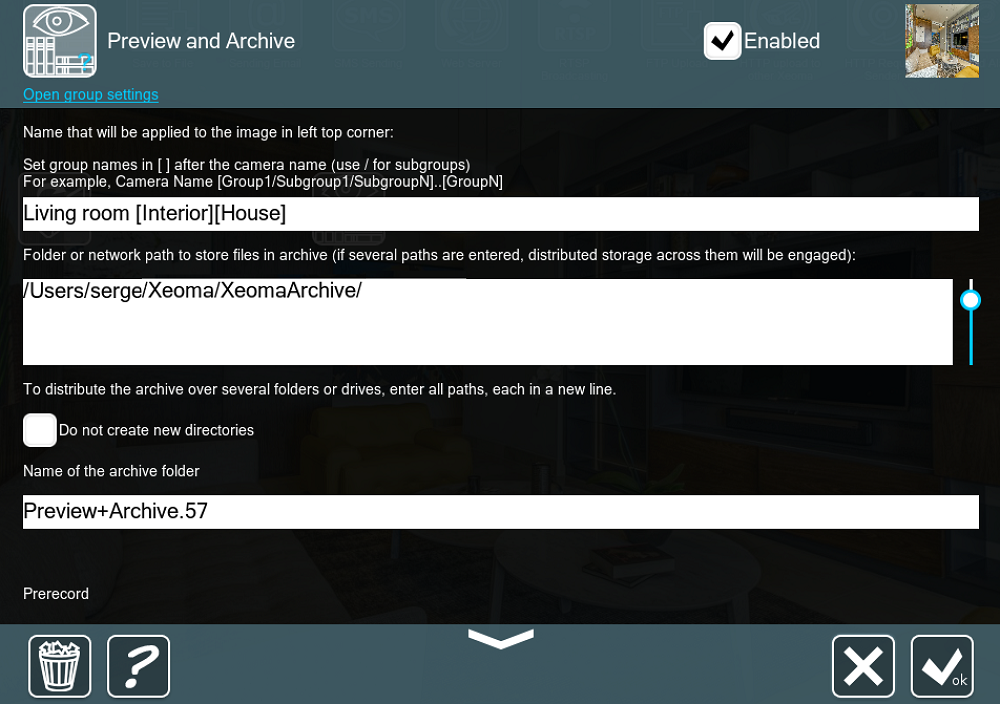
The same camera can be added to several groups. To set it, type the names of the groups the cam should belong to, in different square brackets, one after another.
You can also put the camera into a subgroup. Use the / sign to create a subgroup inside a group:
‘House’ is a group. ‘Bedroom’, ‘Hallway’, ‘Kitchen’ etc. are subgroups:
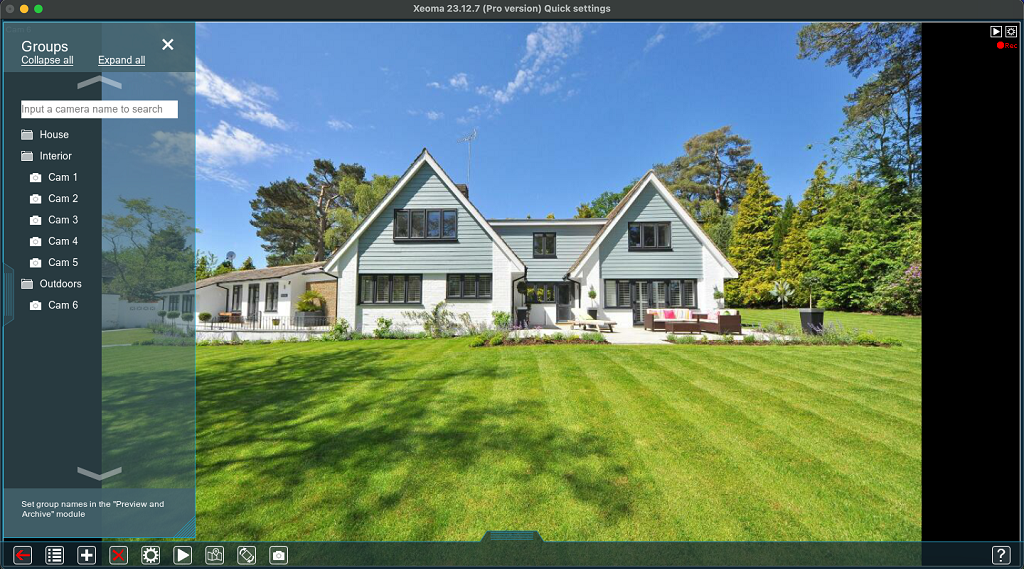
By clicking on a Group/Subgroup name you can expand or, if was already expanded, collapse the list of cameras that belong there:
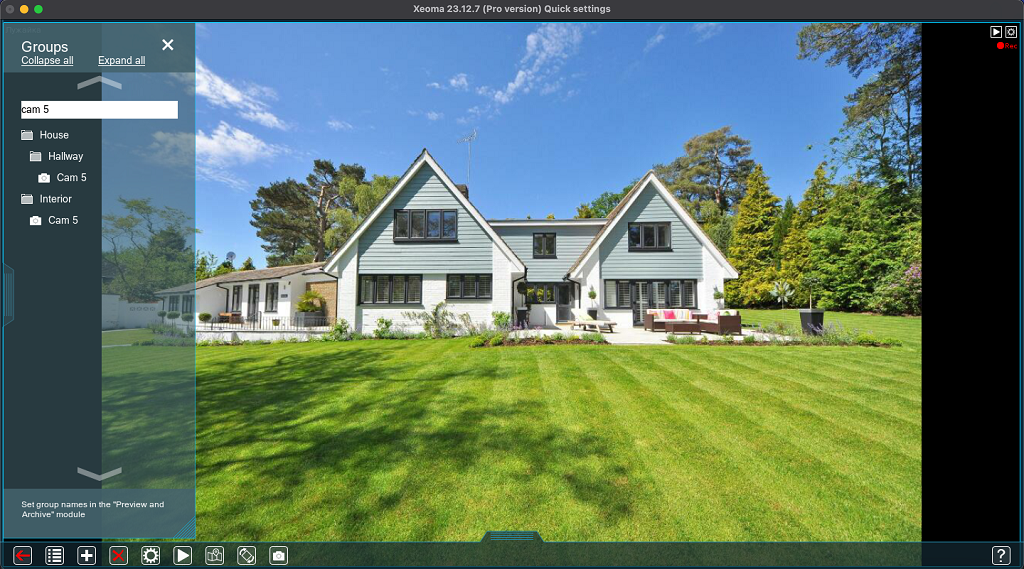
Beginning from Xeoma 23.12.7 you can easily find your camera using a search bar. Simply enter the name or the IP address of the camera in a search bar, and the result will be displayed in the “Device by groups” menu.
To close the Device List, click on the x button in the right upper corner.
Sure, you already know how to make use of Xeoma’s Device List in your security monitoring. For more on efficient camera management, see also eMap article

|
Camera grouping can also be used for quicker setup of user access rights. See more |
15 November 2014, updated 15 December 2023
Read also:
Camera bulk management: eMap
Camera groups in Xeoma
Group settings in Xeoma video surveillance software