Cheaper than DVR system? Security surveillance system with Raspberry Pi board!
Are you still using expensive security surveillance system equipment? In this manual we are going to disclose a secret how to make your video surveillance cheaper than DVR with Raspberry Pi board. For this you will need Raspberry Pi board computer, Xeoma and a simple IP camera.
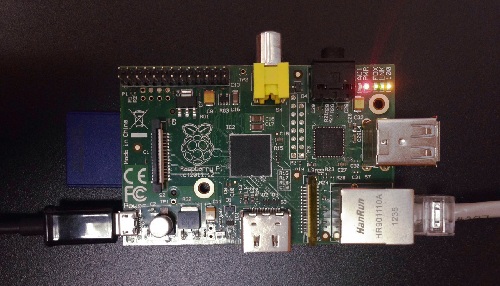
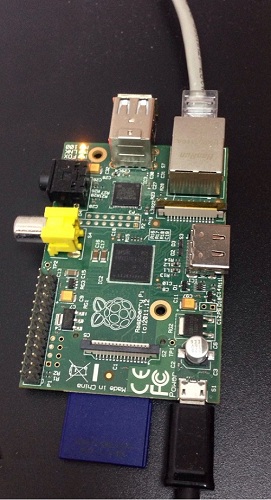
You can easily buy Rasberry Pi board on eBay for $20 and Raspberry Pi 2 for $40.
To create security surveillance system with Raspberry Pi board as an alternative to DVR systems, first of all you need to install an operating system on to the bare board.
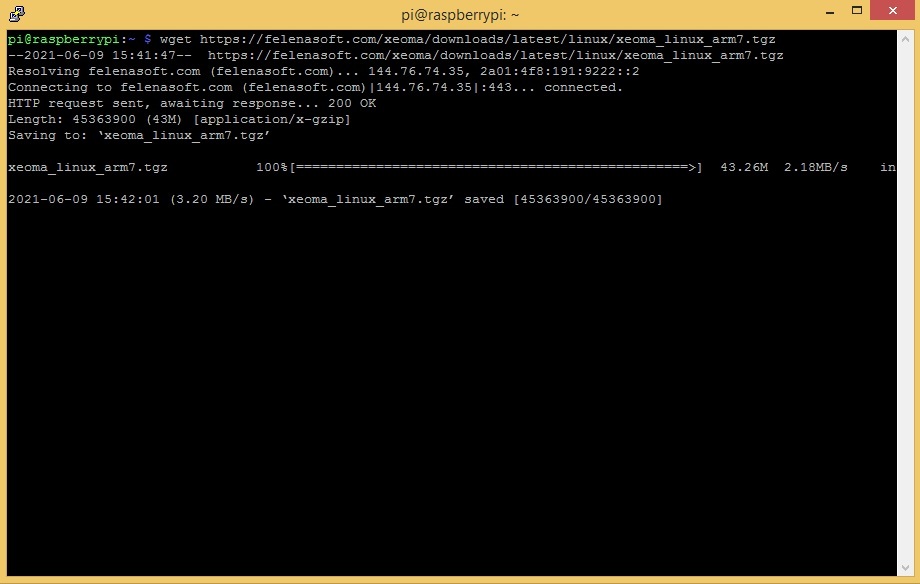
Then download Xeoma ARM version with the command
wget https://felenasoft.com/xeoma/downloads/latest/linux/xeoma_linux_arm7.tgz or
wget https://felenasoft.com/xeoma/downloads/latest/linux/xeoma_linux_arm8.tgz:
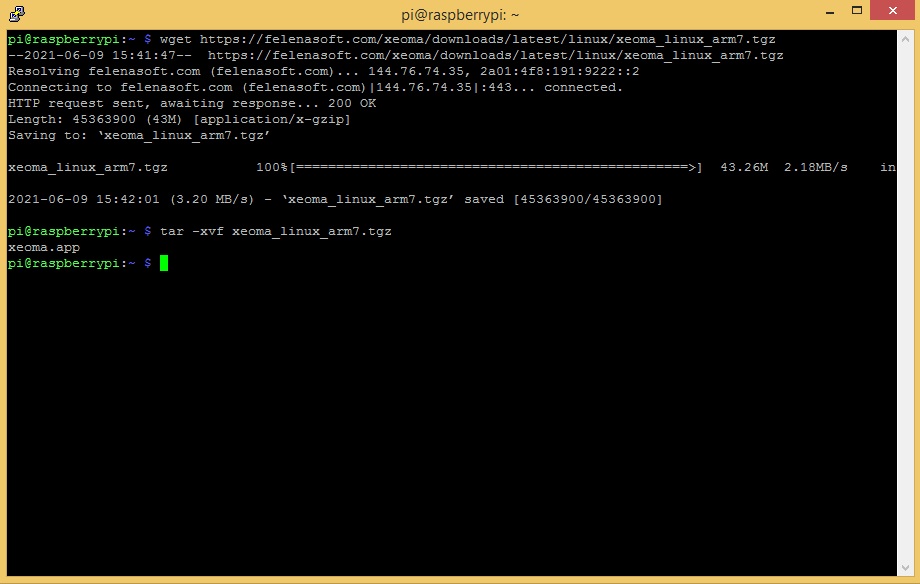
Then you need to unzip the downloaded file with the command
tar -xvf xeoma_linux_arm7.tgz (or tar -xvf xeoma_linux_arm6.tgz):
Now let’s install the server to the auto start with
./xeoma.app -install -coreauto
If installation is successful, password for remote access will be displayed:
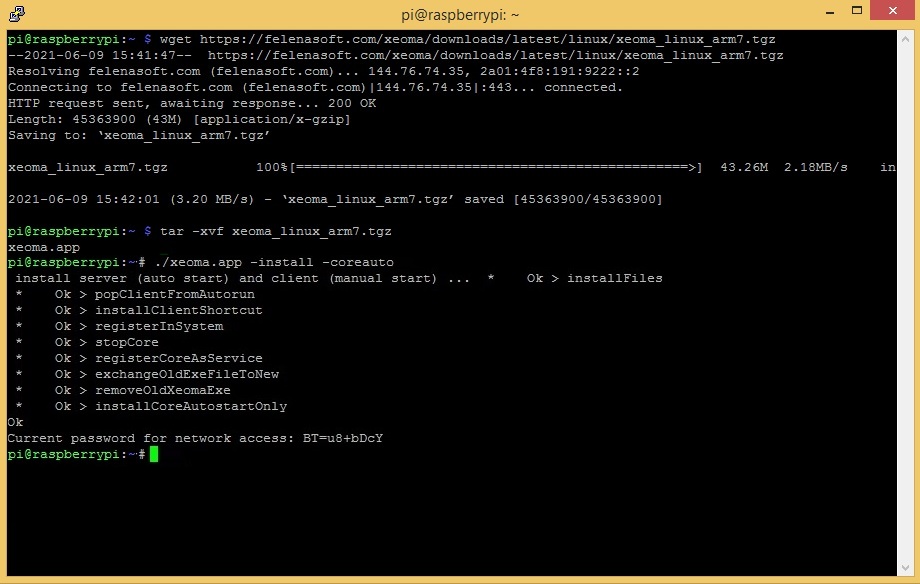
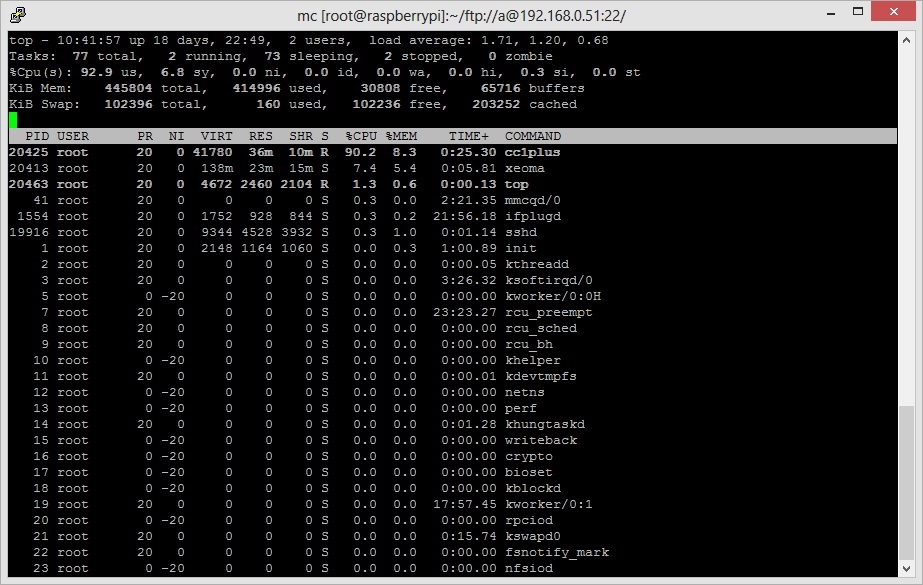
Please make sure that Xeoma process is really started:
ps axu|grep -v grep|grep xeoma
or in top:
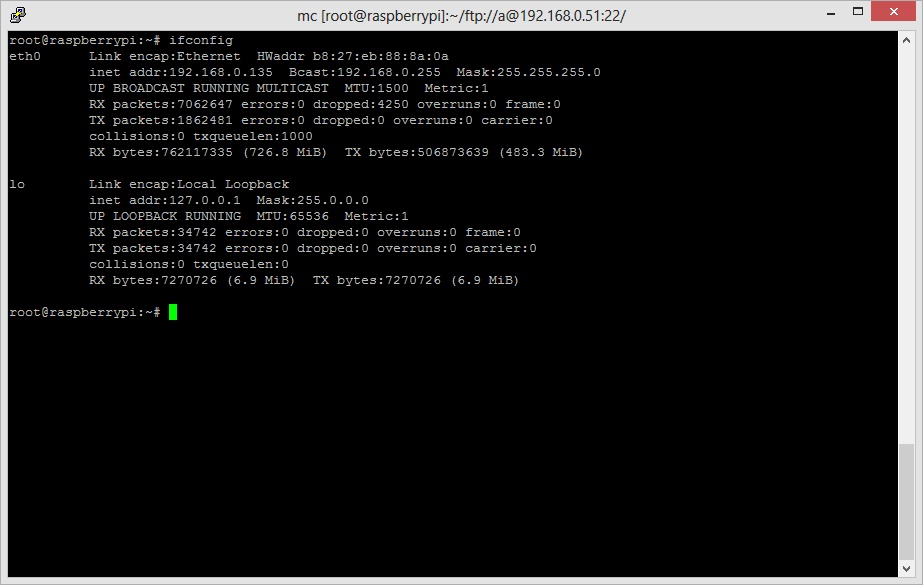
In the end, we need to know the IP address and password of security surveillance system’s on Raspberry Pi board:
You will need Xeoma password for remote connection, which was desplayed after installation. To remind the password, execute
-showpassword
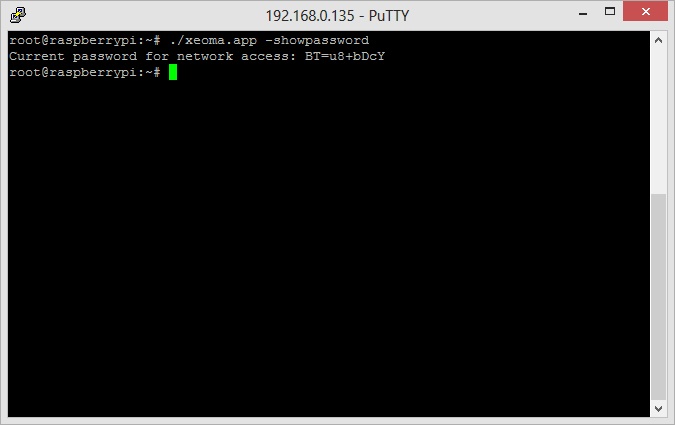
Now, download the client for any operating system and use remote access to connect. In the remote access option enter device IP address and password. More about remote access
Alternatively, if your Raspberry has GUI, you can run Xeoma’s client on it directly – just double-click xeoma.app. There is a catch, though – the most common OS for Raspberry is Raspbian, whose current versions do not have any OpenGL drivers by default. This results in relatively high CPU load from simply running Xeoma’s interface. This can be avoided by following these simple steps:
- In the terminal execute this command: sudo raspi-config

- Choose Update in the window – this will update the drivers to the newest version

- Once the update is completed, choose Advanced Options

- Now choose GL Driver

- Now choose GL (Full KMS) OpenGL desktop driver with full KMS – you will see the message that the driver is enabled, time to reboot your Raspberry

This works for Raspberry 2 and 3. We do need to warn you, though: that driver is considered experimental, so it’s possible for it to crash.
Now configure your camera!
As you can see, security surveillance system with Raspberry Pi board and a couple of IP cameras or web cameras is easier to create and cheaper than using DVR system.
21 October 2015
Try Xeoma for free! Enter your name and your email to send the license to in the fields below, and click the ‘Get Xeoma free demo licenses to email’ button.
We urge you to refrain from using emails that contain personal data, and from sending us personal data in any other way. If you still do, by submitting this form, you confirm your consent to processing of your personal data
We urge you to refrain from using emails that contain personal data, and from sending us personal data in any other way. If you still do, by submitting this form, you confirm your consent to processing of your personal data
Ready to get new versions before all others? Subscribe to announcements about new beta versions here
Read also:
Case study: RPI3-based DVR made by our user
GPIO module in Xeoma.
Raspberry computer as one of the best microcomputers for video surveillance based on Raspberry Pi board
Choosing a microcomputer for CCTV software
Buy plug-and-play kits and cameras
